11 Easy Halloween Crafts for Preschoolers to Make at Home.
Halloween is such a fun time for little children. The costumes, pumpkins, ghosts, bats, and all the silly Halloween characters give preschoolers so many things to get excited about. Even a simple afternoon at home can turn into a fun creative activity with a few craft supplies and a little imagination.
If you are looking for easy Halloween crafts for preschoolers To make at home, this collection is filled with simple ideas that little hands can enjoy making. The crafts are designed to be fun, colourful, and suitable for young children who are still developing their cutting, gluing, painting, and drawing skills.

Some of these Halloween crafts use everyday supplies such as paper, cardboard, paint, glue, craft sticks, and paper plates. You can also adjust the activities based on your child’s age and abilities. Younger preschoolers may enjoy painting, sticking, and decorating, while older preschoolers may be ready to practise simple cutting with child-safe scissors.
From friendly paper ghosts and silly spiders to pumpkins, bats, and other Halloween-themed creations, these crafts give children a chance to make something with their own hands while enjoying the excitement of the season. They are also lovely activities for a quiet afternoon at home, a classroom craft session, or a fun Halloween playdate.
So, gather a few craft supplies, choose an idea that catches your child’s attention, and let the Halloween creativity begin. You can get more fun ideas on 7 easy arts and crafts for kids to do at home when they’re bored
1. Paper Plate Pumpkin Craft
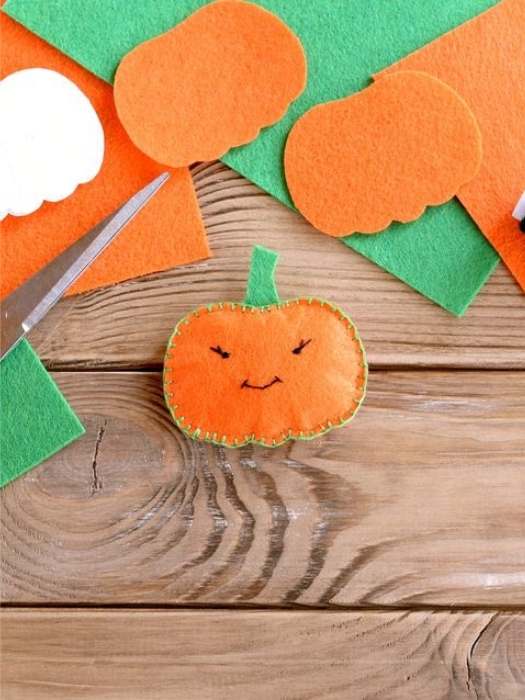
Pumpkins are one of the first things many children think about when Halloween comes around, making this a lovely craft for preschoolers. A simple paper plate can be turned into a bright orange pumpkin with a little paint, paper, and creativity.
This activity is especially enjoyable for children who love painting. They can practise holding a paintbrush, covering the plate with colour, and adding their own details to the pumpkin.
Materials Needed
- 1 paper plate
- Orange paint
- Green construction paper
- Black construction paper
- Child-safe scissors
- Glue
- Paintbrush
- Pencil
How to Make a Paper Plate Pumpkin
1. Paint the paper plate.
Give your child the paper plate and let them paint the entire surface orange. It is fine if the paint is not perfectly even. The little brush marks can make the pumpkin look more handmade and fun.
2. Allow the paint to dry.
Place the plate somewhere safe and let it dry completely before adding the other details.
3. Make the pumpkin stem.
Cut a small rectangle or stem shape from the green construction paper. You can help your preschooler with this part, or allow them to practise cutting if they are comfortable using child-safe scissors.
4. Add a pumpkin face.
Cut simple shapes from black paper for the eyes, nose, and mouth. Triangles are easy shapes for young children to recognise and glue onto the pumpkin.
5. Glue the pieces onto the plate.
Let your child decide where they want the eyes, nose, and mouth to go. The face can be happy, silly, surprised, or even a little funny.
This cute pumpkin can be displayed on a wall, fridge, classroom board, or bedroom door. You can also make several pumpkins with different expressions and create a little Halloween pumpkin family.
2. Friendly Paper Ghost Craft
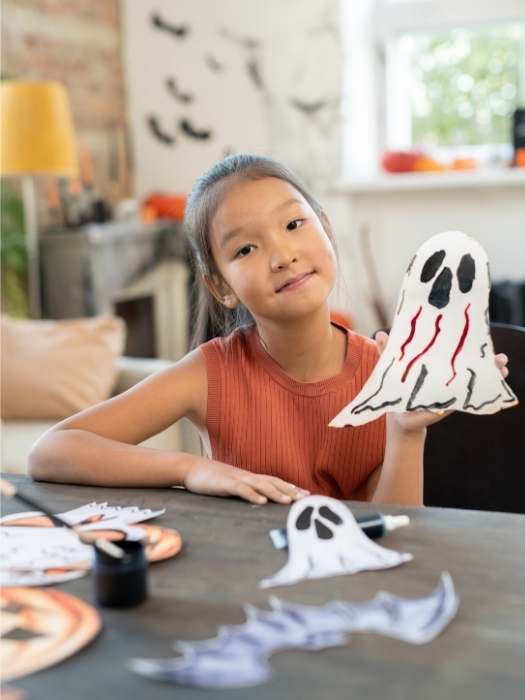
A little paper ghost is one of the easiest Halloween crafts for preschoolers to make. This activity gives children the chance to practise drawing, colouring, cutting, and gluing while creating a cute Halloween decoration.
Instead of making the ghost scary, children can give it a funny or friendly face. Some preschoolers may enjoy making a ghost with a big smile, while others may want to give theirs a surprised expression.
Materials Needed
- White construction paper
- Black construction paper or a black marker
- Pencil
- Child-safe scissors
- Glue
- Crayons or coloured pencils
- Optional: googly eyes
How to Make a Paper Ghost
1. Draw the ghost shape.
Start by drawing a simple ghost shape on a piece of white paper. You can make a rounded head with a wavy bottom. The shape does not need to look perfect. A slightly uneven outline can make the ghost look even more fun.
2. Cut out the ghost.
Let your preschooler carefully cut around the outline with child-safe scissors. If the shape is difficult to cut, an adult can help with the trickier parts.
3. Add the face.
Cut out two small black circles for the eyes and a larger shape for the mouth. Your child can glue them onto the ghost. A black marker can also be used to draw the face.
4. Decorate the ghost.
Your child can add crayons, stickers, small paper shapes, or even a colourful bow. This gives each ghost its own personality.
5. Display the finished craft.
Hang the paper ghosts around the house, attach them to a classroom display, or make several and create a cute Halloween decoration.
You can also turn this into a simple storytelling activity by asking your child to give the ghost a name and create a little story about where the ghost lives. This makes the craft session more interactive and gives preschoolers an opportunity to use their imagination.
3. Paper Cup Halloween Spider Craft
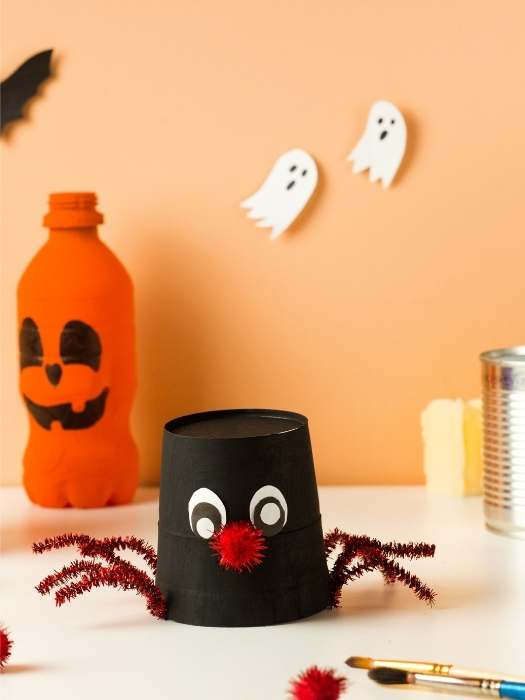
This little Halloween spider is a fun craft for preschoolers who enjoy painting and creating animals from simple materials. A paper cup can be turned into a silly spider with a few easy additions, and children can enjoy choosing the colours and facial expression.
For younger preschoolers, an adult can prepare the legs before the activity begins. Older preschoolers may enjoy helping with some of the cutting under supervision.
Materials Needed
- 1 paper cup
- Black paint
- Paintbrush
- Black construction paper
- White paper
- Black marker
- Glue
- Child-safe scissors
How to Make a Paper Cup Spider
1. Paint the paper cup.
Give your child the paper cup and let them paint it black. Encourage them to cover the outside of the cup with paint.
2. Leave it to dry.
Set the cup aside until the paint is completely dry. This helps prevent the paint from smudging while the other parts are added.
3. Make the spider legs.
Cut eight strips from black construction paper. The strips can be straight, or you can gently fold them to create little bends in the legs.
4. Add the eyes.
Cut two small circles from white paper and draw black dots in the centre. You can also use googly eyes if you have them available.
5. Glue everything together.
Glue the eyes onto the front of the cup and attach the legs around the sides. Your child can decide if the spider should have a happy, surprised, or funny face.
This craft can also become part of a Halloween play activity. Once the spider is finished, your preschooler can use it in a pretend story, make it crawl across the table, or create a few different spiders in different sizes.
4. Halloween Handprint Bat Craft
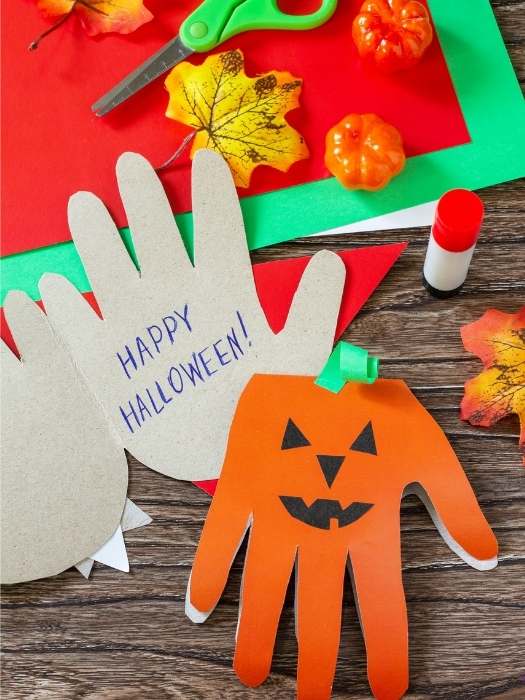
Handprint crafts are always fun for preschoolers because children get to use their own hands to create something they can keep. This Halloween bat craft turns a simple handprint into a cute flying bat.
It is also a lovely activity for parents and teachers who want to keep a little memory of how small a child’s hands were during a particular Halloween season.
Materials Needed
- Black construction paper
- White paper
- Pencil
- Child-safe scissors
- Glue
- White crayon or marker
- Optional: googly eyes
How to Make a Handprint Bat
1. Trace your child’s hands.
Place both hands on a sheet of black construction paper and carefully trace around them with a pencil. The fingers will become the bat’s wings.
2. Cut out the handprints.
Help your preschooler cut around both hand shapes. The two handprints will form the bat’s wings.
3. Make the bat’s body.
Draw a simple oval shape on the black paper and cut it out. You can also make a small round shape for the head.
4. Put the bat together.
Glue the body in the middle of the two handprints. The fingers should spread out on both sides, creating the bat’s wings.
5. Add the face.
Use white paper to make small eyes and teeth, or draw the details with a white crayon or marker. Googly eyes can also give the bat a funny expression.
Your preschooler can add a little paper moon, stars, or clouds around the bat to create a full Halloween night scene. You can even write the date on the back of the craft so you can remember when those tiny handprints were made.
5. Halloween Paper Bag Pumpkin Craft
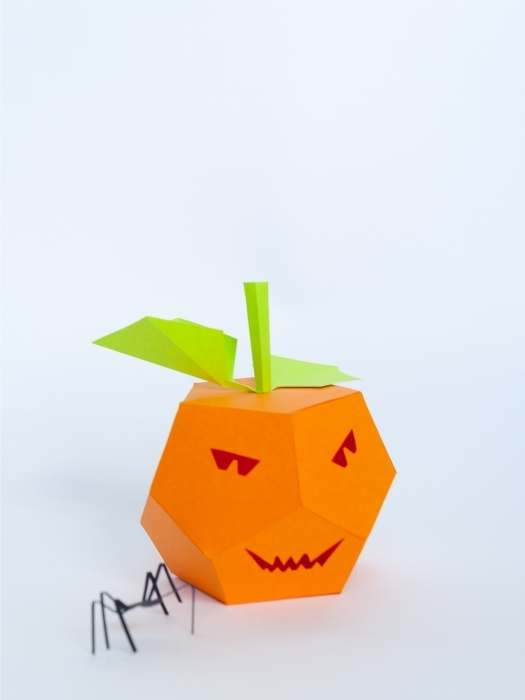
A paper bag can become a cute Halloween pumpkin with just a few simple craft supplies. This activity is fun for preschoolers because they can paint, glue, and decorate the pumpkin with their own ideas.
The finished pumpkin can also be used as a small Halloween decoration or as part of pretend play.
Materials Needed
- 1 small paper bag
- Orange paint
- Paintbrush
- Black construction paper
- Green construction paper
- Glue
- Child-safe scissors
- Optional: crayons or markers
How to Make a Paper Bag Pumpkin
1. Prepare the paper bag.
Place the paper bag on a flat surface with the bottom flap facing upwards. This part will become the front of the pumpkin.
2. Paint the bag orange.
Let your child paint the paper bag orange. Encourage them to cover the main surface and the bottom flap.
3. Allow the paint to dry.
Leave the bag aside until the paint is fully dry before adding the face.
4. Make the pumpkin face.
Cut triangles for the eyes and nose from black construction paper. You can also cut a funny mouth with a few little teeth.
5. Add the face.
Let your preschooler glue the shapes onto the front of the bag. They can choose where each feature goes.
6. Add a green stem.
Cut a small stem from green construction paper and glue it to the top of the pumpkin.
You can make several paper bag pumpkins with different faces. A happy pumpkin, a sleepy pumpkin, and a silly pumpkin can make a cute little Halloween display. The bags can also be used as puppets during pretend play, giving your child another way to enjoy the craft after it is finished.
6. Halloween Cotton Ball Ghost Craft
This soft little ghost is a fun Halloween craft for preschoolers who enjoy gluing and working with different textures. Cotton balls make the ghost look fluffy, and children can enjoy watching a simple outline turn into a cute Halloween character.
Materials Needed
- White paper or black construction paper
- Cotton balls
- Glue
- Pencil
- Black marker
- Optional: googly eyes
How to Make a Cotton Ball Ghost
1. Draw the ghost.
Draw a simple ghost shape on a piece of paper. A rounded head and wavy bottom are easy for preschoolers to recognise and decorate.
2. Add the glue.
Spread glue inside the ghost shape. You can add the glue yourself for younger children, or let your child practise squeezing the glue bottle with supervision.
3. Cover the ghost with cotton balls.
Let your preschooler place cotton balls over the glue until the entire ghost is covered. They can press each cotton ball gently so it sticks to the paper.
4. Add the face.
Glue on googly eyes or draw two eyes and a mouth with a black marker.
5. Add extra decorations.
Your child can draw a moon, stars, pumpkins, or a spooky Halloween background around the ghost.
This craft is a great way to introduce preschoolers to texture while they create a Halloween decoration they can proudly display. The soft cotton balls also make the ghost look extra fluffy and fun.
7. Halloween Popsicle Stick Witch Craft
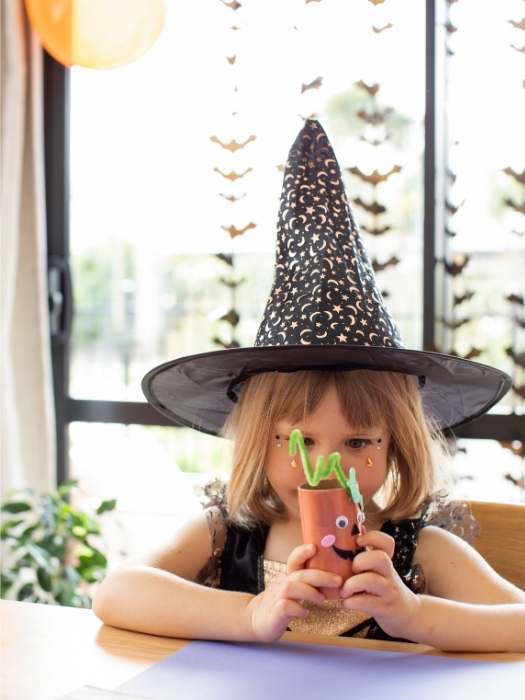
A few popsicle sticks can be turned into a cute little Halloween witch that preschoolers can decorate with their own ideas. This craft gives children plenty of room to choose colours, add details, and create a funny witch with a personality of her own.
Materials Needed
- 4–6 popsicle sticks
- Black, purple, or green paint
- Paintbrush
- Coloured construction paper
- Glue
- Child-safe scissors
- Black marker
- Optional: yarn, stickers, or googly eyes
How to Make a Popsicle Stick Witch
1. Paint the popsicle sticks.
Let your child paint the popsicle sticks in a colour they like. Purple, black, and green work well for a Halloween theme, but children can choose other colours too.
2. Create the witch’s face.
Arrange the dry popsicle sticks side by side and glue them together. You can place another popsicle stick across the back to help hold them in place.
3. Add the facial features.
Use paper, a marker, or googly eyes to create the witch’s eyes, nose, and mouth. Your child can give the witch a big smile or a funny expression.
4. Make a witch’s hat.
Cut a triangle from black construction paper for the top of the hat and a long rectangle for the brim. Glue the pieces together and attach the hat to the top of the face.
5. Add hair and other details.
Small pieces of yarn or strips of coloured paper can become the witch’s hair. Your preschooler can also add a bow, stickers, or other decorations.
This craft can become a fun Halloween puppet once the glue has dried. Your child can use the little witch in pretend play and create stories with the other Halloween crafts they make.
8. Halloween Paper Plate Spider Web Craft
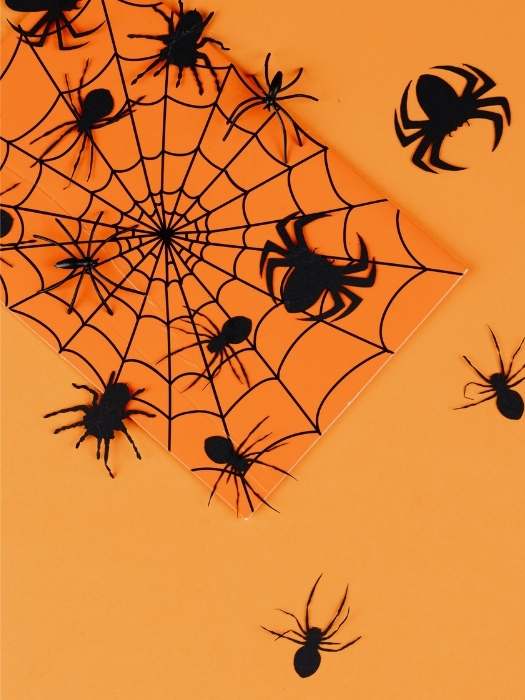
This paper plate spider web is a fun Halloween activity for preschoolers who enjoy threading, weaving, and working with their hands. It also gives children an opportunity to practise hand-eye coordination as they move yarn through the holes.
Materials Needed
- 1 paper plate
- Black paint or crayons
- Black yarn
- Hole punch
- Child-safe scissors
- 1 small plastic spider or paper spider
- Glue
- Optional: white paint
How to Make a Paper Plate Spider Web
1. Prepare the paper plate.
Let your child colour or paint the paper plate. Black is a classic Halloween choice, but your preschooler can choose any colour they enjoy.
2. Make holes around the edge.
An adult can use a hole punch to make holes around the edge of the plate. Space them around the plate so the yarn can move from one side to another.
3. Cut a piece of yarn.
Cut a long piece of black yarn. You can wrap a small amount of tape around the end to make it easier for your child to push the yarn through the holes.
4. Thread the yarn through the holes.
Let your preschooler move the yarn from hole to hole across the plate. There is no single correct pattern. The different lines will gradually create a spider-web design.
5. Add the spider.
Glue a small paper spider onto the web, or attach a plastic spider if you have one available.
Your child can hang the finished web on a wall or place it on a table as part of a Halloween decoration. The threading activity also makes this craft a fun way for preschoolers to practise using their hands carefully while creating something they can proudly display.
9. Halloween Monster Paper Bag Puppet
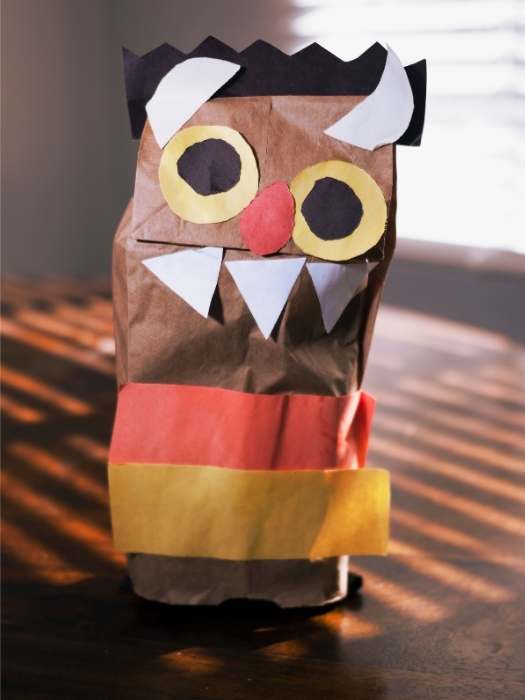
A paper bag can become a funny Halloween monster with a little paint, paper, and imagination. Preschoolers usually enjoy this craft because they can create their own monster and then use it for pretend play after the craft is finished.
The monster can have one eye, three eyes, big teeth, tiny teeth, colourful hair, or any other details your child imagines.
Materials Needed
- 1 paper bag
- Paint or crayons
- Construction paper
- Glue
- Child-safe scissors
- Markers
- Optional: googly eyes, yarn, or stickers
How to Make a Halloween Monster Puppet
1. Choose a colour for the monster.
Let your child choose the colour they want for their monster. Green, purple, orange, and blue can all make fun Halloween colours.
2. Decorate the paper bag.
Your child can paint or colour the paper bag. Allow it to dry completely if you use paint.
3. Make the monster’s eyes.
Cut out different-sized circles from construction paper. Your child can make one large eye, two eyes, or several eyes.
4. Add a mouth.
Cut out a large mouth shape and add paper teeth. You can make the teeth pointy, square, tiny, or oversized to give the monster a funny appearance.
5. Add hair and other details.
Use strips of construction paper or yarn for hair. You can also add horns, ears, spots, eyebrows, or colourful cheeks.
6. Turn it into a puppet.
Once the decorations are dry, place your hand inside the paper bag and use the flap as the monster’s mouth.
Your preschooler can use the puppet to make up Halloween stories, have conversations between different monster characters, or put on a little show for the family.
10. Halloween Egg Carton Bat Craft
An empty egg carton can be turned into a cute little Halloween bat with some paint and paper. This is a lovely craft for preschoolers because the egg carton already provides a simple shape for the bat’s body.
Materials Needed
- 1 section of an empty egg carton
- Black paint
- Paintbrush
- Black construction paper
- White paper
- Glue
- Child-safe scissors
- Black marker
How to Make an Egg Carton Bat
1. Prepare the egg carton.
Cut out one small section of the egg carton to use as the bat’s body. An adult can handle this step before the craft begins.
2. Paint the carton.
Let your preschooler paint the egg carton black. Encourage them to cover the outside completely.
3. Allow it to dry.
Leave the painted carton aside until it is completely dry.
4. Make the wings.
Draw two simple bat wings on black construction paper and cut them out. The wings can be large, small, pointy, or rounded.
5. Attach the wings.
Glue one wing to each side of the egg carton body.
6. Add the face.
Use white paper to make two eyes, then add black dots with a marker. You can also add small paper teeth for a funny Halloween expression.
Once finished, the little bats can be hung with string or displayed together on a table. Making several bats in different sizes can create a cute Halloween display that your preschooler helped create.
11. Halloween Pumpkin Sponge Painting
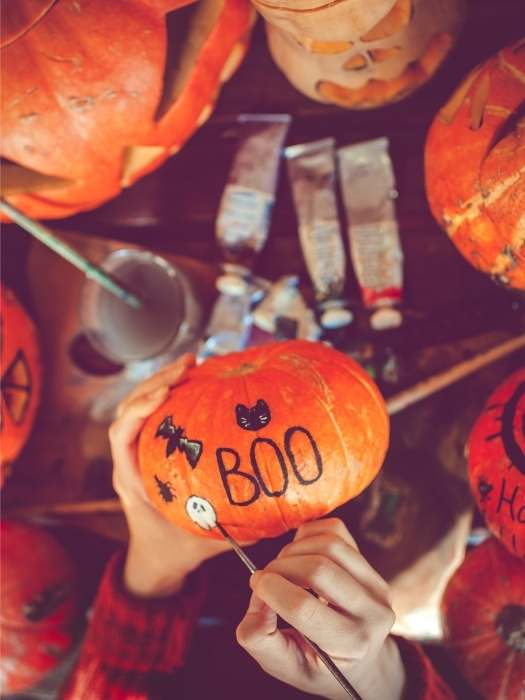
Sponge painting is a fun activity for preschoolers because it lets them create shapes and patterns without needing to draw every detail themselves. With an orange sponge and a few simple supplies, your child can make a colourful pumpkin-themed Halloween picture.
Materials Needed
- White paper
- Orange paint
- Green paint
- Black paint
- A clean sponge
- Paintbrush
- Paper plate for the paint
- Optional: black marker
How to Make a Sponge-Painted Pumpkin
1. Prepare the paint.
Pour a small amount of orange paint onto a paper plate. Add green and black paint to separate areas of the plate.
2. Create the pumpkin shape.
Dip the sponge lightly into the orange paint and press it onto the paper. You can use a round sponge or cut a regular sponge into a simple pumpkin shape.
3. Add the stem.
Use a paintbrush or your finger to add a small green stem at the top of the pumpkin.
4. Add Halloween details.
Once the orange paint is dry, your child can add a pumpkin face with black paint or a marker. They can also add leaves, grass, a moon, or stars to create a complete Halloween picture.
5. Let the artwork dry.
Place the painting somewhere safe until all the paint has dried.
You can make this activity more fun by giving your child different sponge shapes to try. Circles, stars, and other simple shapes can be used to create a whole Halloween scene filled with pumpkins and decorations.
Conclusion on Easy Halloween Crafts for Preschoolers to Make at Home.
Halloween crafts give preschoolers a fun way to explore their creativity while enjoying the excitement of the season. From paper plate pumpkins and friendly ghosts to spiders, bats, witches, monsters, and colourful Halloween paintings, each activity gives little hands something fun to make.
These crafts can also become part of a bigger activity. After making a paper bag monster, your child can create a story for it. A paper bat can become part of a Halloween night scene, while a little pumpkin can be added to a handmade Halloween display.
Choose a craft that suits your child’s age and interests, gather the materials, and let them enjoy the process of creating. The finished craft may not look exactly like the example, and that is perfectly fine. The little details your preschooler adds are what make their Halloween creation uniquely theirs.
From cute pumpkins to funny monsters, these easy Halloween crafts for preschoolers can make the Halloween season even more enjoyable for little ones.