DIY Squishy Ideas for Kids That Will Keep Little Hands Busy.
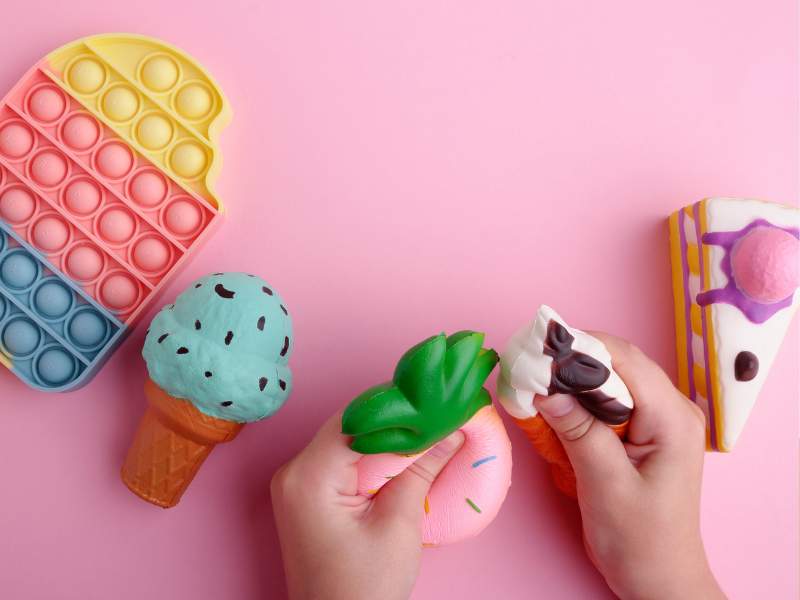
If your child loves anything they can squeeze, press, stretch, or play with, then making DIY squishies at home can be such a fun activity to try. I especially like crafts like this because you do not need to spend a lot of money buying special toys when you can create something simple with materials you may already have at home.
What makes these DIY squishy ideas for kids even more fun is that your child can actually be part of the making process. They can choose the colors, decide whether their squishy should have a funny face, create their own animal, or even invent a completely new character. Make learning fun for your kids, by helping them with this, Apple crafts for preschoolers, your kids can try at home with simple everyday materials.
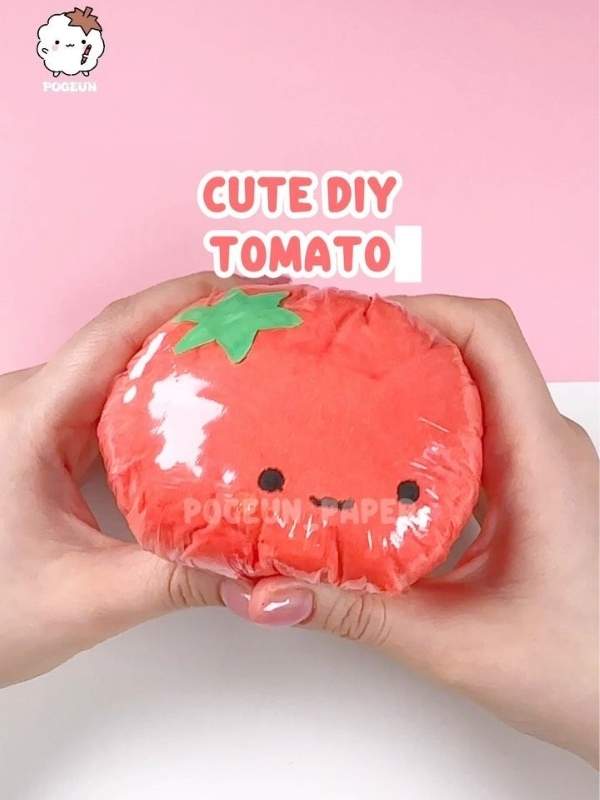
Some of the crafts require an adult to do the cutting or handle certain materials, but children can usually take over when it comes to decorating and personalizing their creations. That makes the activity more than just making a toy. It becomes an opportunity for them to be creative, practice using their hands, learn about colors and shapes, and use their imagination. When you want to keep you kids out of screen and you are looking for a craft that will get their attention, go through this guide and learn how to make a milk carton bird feeder craft to get kids outside and offscreen
I have put together different DIY squishy ideas, ranging from simple sponge designs to food, animals, and flowers, . I have also included detailed instructions so you know exactly what to do, what your child can help with, and how you can turn each craft into a small learning activity.
So, if you are looking for something inexpensive to keep your child busy on a weekend, during school holidays, or simply on one of those days when they keep saying, “I’m bored,” let’s get started.
Why Make DIY Squishies With Kids?
Before getting into the individual crafts, it is worth understanding why squishy crafts can be such a useful activity for children.
A squishy is not just something that looks cute. Depending on how it is made, a child can squeeze, press, hold, decorate, and play with it after the craft is finished.
They Encourage Fine Motor Practice
Children use the small muscles in their hands when they squeeze materials, hold a paintbrush, draw with a marker, use glue, and decorate their crafts.
These movements require coordination between the eyes and hands. For example, when a child tries to draw tiny sprinkles on a donut, they are practicing controlled hand movements while concentrating on where each mark should go. Looking for more encouraging crafts for your kids, They should try this free printable craft on 12 halloween paper craft for kids that are almost too cute to spook, they will love every bit of it.
The activity does not have to feel like a lesson. They are simply having fun while practicing these skills.
They Encourage Creativity
There is no reason every child’s squishy needs to look exactly like the example.
If you make a strawberry, one child might decide it should be red, while another might make a purple strawberry with a smiling face. That freedom is part of the fun.
Instead of telling your child exactly what their craft should look like, give them a basic idea and allow them to make their own decisions. what if i tell you, that your kid can learn these zoo animal crafts for preschoolers that spark creativity, with ease and without too much effort,? go through the guide to see more details for it.
They Encourage Imaginative Play
The activity does not have to end when the squishy is finished.
A collection of food squishies can become a pretend restaurant. Animal squishies can become characters in a story. Emoji squishies can become part of an emotions game.
This means one craft can lead to another activity without requiring you to buy additional toys. If you want more Imaginative crafts for your kids, teach them this Daniel and the lions Den crafts Ideas that help kids learn the bible story
They Provide a Sensory Experience
The squeezing and pressing action gives children something physical to explore. However, it is important to remember that not every homemade squishy is suitable for every child.
Always consider the child’s age, the materials used, the possibility of small pieces coming loose, and the condition of the finished craft before allowing them to play with it. This guide provides details on sensory crafts ideas for kids with special needs that support learning.
DIY Squishy Ideas for Kids
1. DIY Balloon Flour Squishy
A balloon flour squishy is one of the simplest homemade squeeze toys you can make. It is particularly interesting because the soft filling moves when the balloon is pressed.
This project is different from the sponge crafts below because the balloon itself provides the outer covering while the flour or cornstarch provides the filling.
What You Need
- A sturdy balloon
- Flour or cornstarch
- A funnel
- A spoon
- Permanent marker
- A small bowl or tray to catch spills
Before You Start
Because balloons can break and the filling should not be inhaled or scattered around, this is a project where an adult should prepare the squishy.
It is also important to think about the child’s age. Broken or deflated balloons can be choking hazards, so this type of squishy is not appropriate to leave with a young child unsupervised.

How to Make a Balloon Flour Squishy
Step 1: Prepare your work area.
Place your materials on a table or another easy-to-clean surface. Put a bowl or tray underneath the balloon while filling it. This will make cleanup easier if some flour spills.
Step 2: Stretch the balloon.
Gently stretch the balloon several times with your hands. You do not need to stretch it aggressively. The purpose is simply to make the opening easier to work with and allow the balloon to accommodate the filling.
Step 3: Attach the funnel.
Insert the funnel into the opening of the balloon and hold it securely.
Step 4: Add the filling slowly.
Use a spoon to add small amounts of flour or cornstarch through the funnel.
Do not pour a large amount in at once. The powder can become stuck in the narrow opening, making it difficult to continue.
If the powder stops moving, gently tap the side of the funnel or use the spoon to help it move downward.
Step 5: Do not overfill the balloon.
This is one of the most important parts of making this type of squishy.
The balloon needs enough room for the filling to move when you squeeze it. If you fill it completely, it may become too firm and place unnecessary pressure on the balloon.
Step 6: Remove the funnel carefully.
Once you have the amount you want, carefully remove the funnel while keeping the balloon upright.
Step 7: Tie the balloon securely.
Tie the opening firmly so the filling cannot escape.
Step 8: Decorate it.
Use a permanent marker to draw a face. You can make a happy face, sleepy face, surprised face, silly face, or even a little monster.
Let Your Child Help
Your child can choose the expression, colors, and name for the squishy. The adult should handle the filling and tying of the balloon.
Important Safety Tip
Inspect the balloon before giving it to a child. If it becomes torn, starts leaking, or breaks, discard it immediately. Do not try to repair a damaged balloon squishy.
Balloons and broken balloon pieces can be choking hazards, particularly for young children. The original project also emphasizes checking balloon squishies regularly and discarding damaged ones.
2. DIY Sponge Squishy
If you want something simpler than a balloon project, start with a soft sponge.
The advantage of a sponge is that there is no loose filling inside. You can create a basic shape, decorate it, and turn it into a character.
What You Need
- A clean, soft sponge
- Scissors
- Suitable craft paint
- Paintbrush
- Marker
- Pencil for drawing the shape
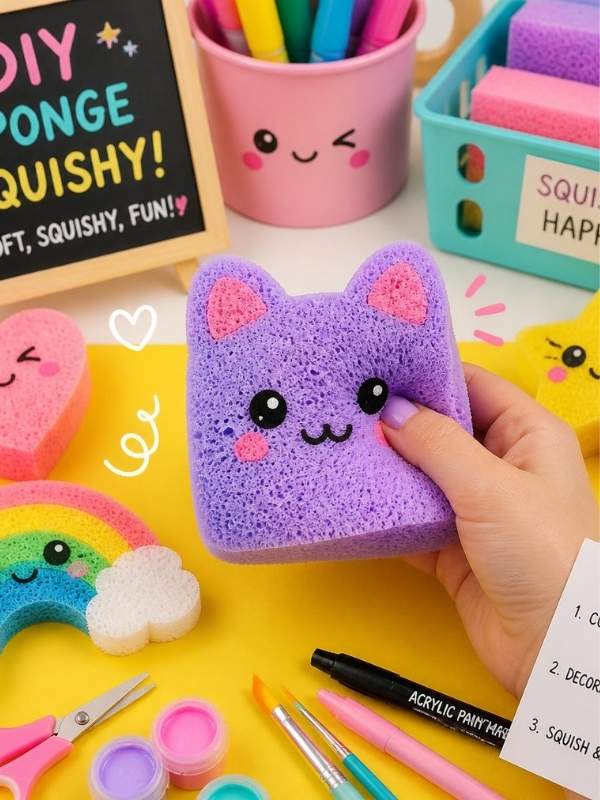
How to Make It
Step 1: Choose the sponge.
Look for a clean sponge with a soft texture that compresses easily when pressed.
Avoid rough scouring surfaces or materials that could scratch a child’s skin.
Step 2: Draw your shape.
Before cutting, lightly draw the shape you want on the sponge.
For a beginner, a circle, heart, cloud, star, or simple oval is easier than a complicated animal.
Step 3: Cut the sponge.
An adult should do this part, especially when making shapes with curves or detailed edges.
Cut slowly rather than trying to remove too much material at once.
Step 4: Check the shape.
Squeeze the sponge gently. If the shape looks uneven, trim small sections until you are happy with it.
Step 5: Decorate it.
Let your child paint the sponge and add a face, spots, stripes, cheeks, or other details.
Allow the paint to dry according to the product instructions before letting the child handle it extensively.
Easy Sponge Characters
You can turn one basic sponge into:
- A smiling cloud
- A cat
- A strawberry
- A star
- A heart
- A monster
The important thing is not to make the shape perfect. Let your child add their own personality to it.
3. DIY Animal Squishy
Animal squishies are excellent for children because the basic shape can be changed into almost anything.
What You Need
- Soft sponge
- Suitable craft paint
- Paintbrush
- Marker
- Optional paper or felt for larger details
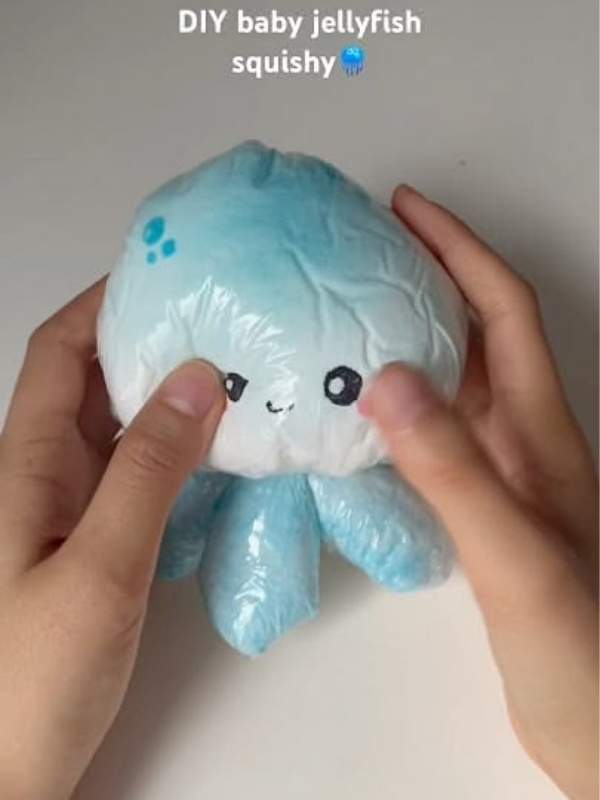
How to Make One
Step 1: Choose an animal.
Start with an animal your child already knows.
A bear, cat, chick, frog, or dog is easier than an animal with a complicated body shape.
Step 2: Make the basic body.
Use a rounded sponge shape for the body.
Step 3: Add identifying features.
This is where the animal becomes recognizable.
For example:
Bear: Add round ears, a nose, and a simple mouth.
Chick: Use yellow paint and add an orange beak.
Cat: Add triangular ears and whiskers.
Frog: Use green paint and large eyes.
Monster: Forget the normal rules and let your child decide everything.
Make It Educational
Ask your child what makes each animal different.
For example:
“What does a frog use its feet for?”
“What sound does a cat make?”
“Where does a chick come from?”
This turns the craft into a simple animal-learning activity without making it feel like homework.
4. DIY Heart Squishy
A heart is a simple shape that children can decorate for themselves or turn into a handmade gift.
What You Need
- Soft sponge
- Scissors
- Suitable paint
- Paintbrush
- Marker

Step-by-Step Instructions
Step 1: Draw the heart.
Use a pencil to draw a heart outline on the sponge.
Step 2: Cut it out.
An adult should carefully cut around the outline.
Step 3: Choose a color.
Your child can choose red, pink, purple, yellow, blue, or any color they prefer.
Step 4: Paint the sponge.
Cover the main surface with the chosen color and allow it to dry.
Step 5: Decorate it.
Add smaller hearts, stars, dots, stripes, or a smiling face.
Turn It Into a Gift
Your child can make one for a parent, grandparent, sibling, teacher, or friend.
Instead of writing directly on the squishy, which may not work well depending on the material and paint, make a small paper gift tag with a message.
This gives the child an opportunity to practice writing a short note while creating something personal.
5. DIY Cloud Squishy
A cloud squishy is perfect for children who enjoy dreamy or colorful crafts.
What You Need
- Soft sponge
- Scissors
- White or light-colored paint if needed
- Paintbrush
- Marker

How to Make It
Step 1: Draw a cloud shape.
Make several rounded bumps along the top of the sponge.
Step 2: Cut the outline.
An adult should cut around the cloud.
Step 3: Add color.
You can leave a white sponge plain or paint it a suitable color.
Step 4: Give the cloud a face.
Draw eyes and a smile.
Step 5: Add a theme.
You can add a paper rainbow, stars, raindrops, or other large decorations that are appropriate for the child’s age.
Turn It Into a Story
Instead of stopping after the craft, ask:
“Where is your cloud going?”
“Does your cloud have a name?”
“Who lives in your cloud?”
“What can your cloud see from the sky?”
Let your child answer without correcting every detail. The goal is to encourage storytelling and imagination.
6. DIY Fruit Squishies
Fruit squishies are colorful and can also be used to teach children about fruits, colors, shapes, and counting.
Fruit Ideas
- Strawberry
- Watermelon
- Lemon
- Orange
- Apple
- Pineapple

How to Make Them
Step 1: Pick one fruit.
Choose something with a simple recognizable shape.
Step 2: Draw the shape.
An adult can draw the outline on the sponge.
Step 3: Cut the shape.
Cut carefully around the outline.
Step 4: Paint the main color.
Use the fruit’s natural colors as inspiration.
Step 5: Add identifying details.
A strawberry can have small seeds.
A watermelon can have a green outer edge and dark seeds.
An orange can have a textured-looking peel drawn onto it.
A pineapple can have a leafy top.
Turn It Into a Learning Game
Place several finished fruit squishies on the table and ask your child to:
- Name each fruit
- Identify its color
- Count the decorations
- Sort them by color
- Name which fruits they have eaten before
You can even ask which fruit they like best and why.
7. DIY Pizza Squishy
A pizza squishy is especially fun because your child gets to design the toppings.
What You Need
- Soft sponge
- Scissors
- Suitable paint
- Paintbrush
- Marker
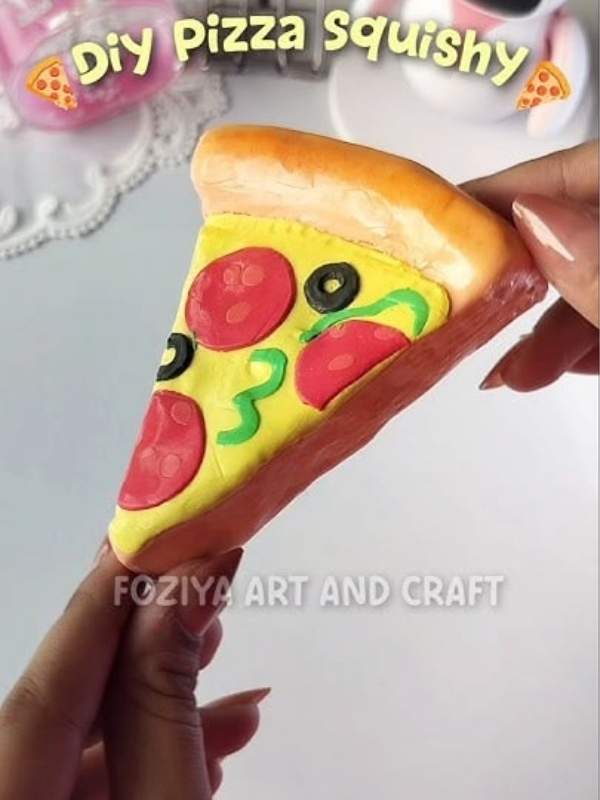
How to Make It
Step 1: Draw a triangle.
The triangle will become the pizza slice.
Step 2: Cut the sponge.
An adult should cut the triangle carefully.
Step 3: Paint the crust.
Use brown paint around the wider edge to represent the crust.
Step 4: Add the cheese.
Use yellow paint for the main pizza surface.
Step 5: Add toppings.
Your child can draw or paint pretend pepperoni, mushrooms, peppers, onions, vegetables, or any other toppings.
Create a Pretend Restaurant
Let your child name the restaurant and create a menu.
They can decide:
- What pizzas are available
- How much each pizza costs
- Which toppings customers can choose
- What the restaurant is called
You can then use play money to practice simple counting.
8. DIY Rainbow Squishy
A rainbow squishy gives children an opportunity to practice colors while creating something bright and cheerful.
What You Need
- Soft sponge
- Scissors
- Several suitable paint colors
- Paintbrush
- Marker
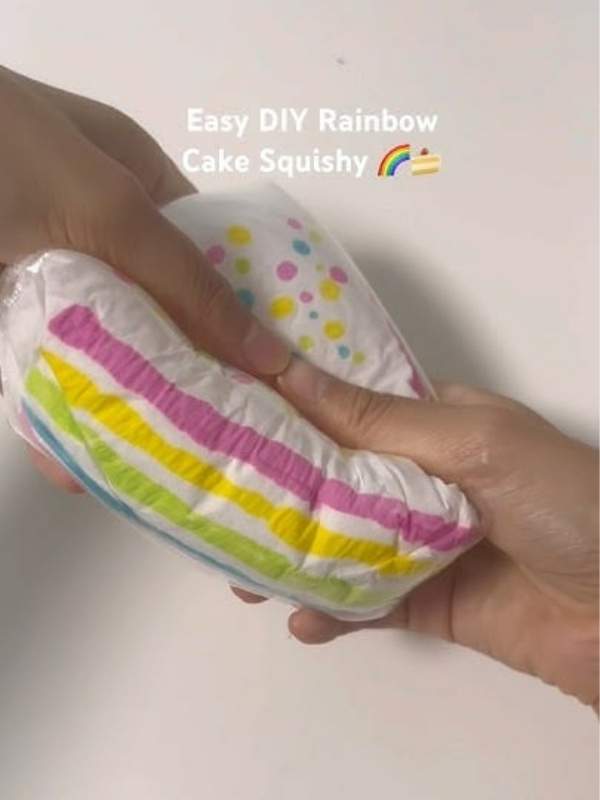
How to Make It
Step 1: Draw the rainbow.
Create a curved rainbow outline on the sponge.
Step 2: Cut it out.
An adult should handle the cutting.
Step 3: Plan the stripes.
Before painting, decide which colors will go across the rainbow.
This is a good opportunity to talk about color order.
Step 4: Paint each section.
Apply one color at a time.
If the paint needs to dry between sections, allow it to dry before continuing. This prevents colors from mixing unintentionally.
Step 5: Add details.
You can give the rainbow a face or add clouds at the ends.
Extend the Activity
Ask your child to name every color.
Then challenge them to find something around the house that matches each color.
This turns one craft into a color-recognition game.
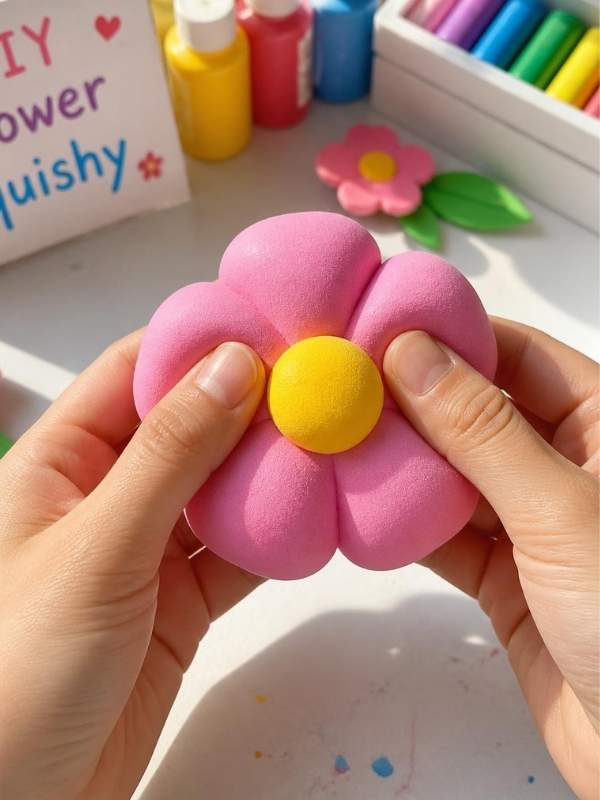
9. DIY Flower Squishy
A flower squishy is simple to make and can become part of a pretend garden afterward.
What You Need
- Soft sponge
- Scissors
- Suitable paint
- Paintbrush
- Marker
How to Make It
Step 1: Draw the flower.
Create several rounded petals around a center.
Step 2: Cut it out.
An adult should cut around the outline.
Step 3: Paint the petals.
Your child can choose one color or make every petal different.
Step 4: Add the center.
Use a contrasting color in the middle.
Step 5: Add patterns.
Dots, lines, small shapes, or a face can make the flower more personal.
How to Make DIY SquishyMore Fun for Kids
Making the squishy is only the beginning.
Once your child has finished making several of them, think about what else they can do with their creations.
Create a Pretend Restaurant
Use the donut, pizza, ice cream, and fruit squishies as pretend food.
Your child can make a menu, take orders, serve customers, and count pretend money.
Create an Animal Story
Use the animal, paw, and monster squishies as characters.
Ask your child to create a story in which every character has a role.
Play an Emotion Game
Use the emoji squishies to talk about different facial expressions and emotions.
Play a Color Game
Arrange the fruit, rainbow, flower, and star squishies according to color.
Ask your child to find all the red objects, then all the yellow ones, and so on.
This makes the finished crafts useful for play and learning instead of simply leaving them in a box.
How to Make DIY Squishy More Educational
You do not need to turn craft time into a formal classroom lesson.
Small questions throughout the activity are enough.
Practice Colors
Ask your child what color they want to use.
Then ask them to name the color as they paint.
Count:
- Sprinkles on a donut
- Seeds on a strawberry
- Spots on an animal
- Stars on a cloud
- Flowers in a pretend garden
Practice Shapes
Talk about circles, triangles, hearts, stars, and other shapes as you make them.
Practice Vocabulary
Encourage your child to describe what they are creating.
Instead of simply asking, “What is that?” ask questions such as:
“What does your monster look like?”
“Where does it live?”
“What does it eat?”
“What is your favorite part?”
These questions encourage children to use more descriptive language.
Practice Following Instructions
You can also teach sequencing with simple instructions.
For example:
“First, choose your shape.”
“Next, paint it.”
“After the paint dries, add the face.”
“Finally, give your character a name.”
This helps children understand that some activities need to happen in a particular order.
Frequently Asked Questions About DIY Squishies
What Can I Use to Make DIY Squishies?
There are several materials you can use, depending on the type of squishy you want to create.
Soft sponges are useful for making shaped squishies because they can be cut into hearts, stars, clouds, animals, fruits, and other designs.
Balloons can also be used as an outer covering for a filled squeeze toy, while materials such as construction paper, suitable craft paint, markers, and glue can be used for decoration.
The important thing is to choose materials based on the child’s age and the type of craft you are making. You do not need a specialized squishy-making kit to get started. Simple craft supplies can be enough for many designs.
Are DIY Squishies Safe for Kids?
They can be, but you should not assume that every homemade squishy is automatically safe simply because you made it yourself.
Safety depends on the child’s age, the materials used, how the squishy was constructed, and whether any small parts can come loose.
For example, balloons and broken balloon pieces can be choking hazards. Small decorations such as beads and tiny googly eyes can also be dangerous for young children.
Adults should handle sharp tools and prepare complicated shapes. Finished squishies should also be checked regularly for damage.
If a squishy becomes torn, starts leaking, develops an unusual smell, becomes moldy, or has loose pieces, discard it rather than allowing the child to continue using it.
The original source emphasizes age-appropriate materials, adult supervision, caution with small parts, and regular inspection of finished squishies.
What Is the Easiest DIY Squishy to Make?
A simple sponge squishy is one of the easiest choices, particularly if you are making one for the first time.
You only need to create a basic shape from a soft sponge and decorate it.
A circle is an especially easy starting point because you do not have to worry about complicated corners or narrow sections.
Once you understand how the sponge behaves when you cut and decorate it, you can move on to more detailed designs such as animals, fruits, or food.
How Can I Make Squishies Without Buying Expensive Supplies?
You can start with simple materials you already have or can purchase inexpensively.
Soft clean sponges, suitable paint, markers, construction paper, glue, and child-safe scissors can give you many possibilities.
Instead of buying a separate kit for every design, buy a few basic supplies that can be reused across several projects.
For example, one pack of sponges can become hearts, clouds, stars, animals, fruits, and monsters.
This is one reason DIY squishies can be a useful budget-friendly craft activity.
How Do You Make a Homemade Squishy Soft?
The texture depends on the material you choose.
A soft sponge naturally provides a compressible texture, so the sponge itself is responsible for most of the squeezing experience.
A balloon-based squishy gets its texture from the filling inside. The amount of filling affects how firm it feels. If a balloon is packed too tightly, there may not be enough room for the filling to move when you squeeze it.
For this reason, do not simply add as much filling as possible. The construction of the squishy matters just as much as the materials.
Also remember that adding too much paint or heavy decorations to a sponge can change how flexible it feels.
Why Does My Sponge Squishy Feel Hard After Painting?
Paint can change the texture of a sponge as it dries.
If you apply a heavy layer of paint, the dried paint can form a coating over the sponge and make it feel less flexible.
That is why it is better to use appropriate craft paint in reasonable layers and allow each layer to dry properly.
If the main purpose of the project is to have a very soft, squeezable texture, test a small piece of the sponge first before painting the entire craft.
This allows you to see how the paint affects the material before committing to the whole project.
Final Thoughts on DIY Squishy Ideas for Kids
A simple supplies can turn into an entire afternoon of making, decorating, storytelling, and playing. That is what I love about these DIY squishy ideas for kids. The craft itself is fun, but there is also so much you can do with the finished creations.
Your child can make a donut and turn the living room into a bakery.
They can make an animal and create a story around it, They can make different emojis and talk about feelings, They can make colorful fruits and practice counting.
Or they can make a completely ridiculous monster with five eyes, three mouths, and purple hair.
And honestly, that is part of what makes homemade crafts special.
The finished squishy does not have to look perfect. It does not have to look like something bought from a store. It simply needs to be something your child had fun creating.
So gather a few simple supplies, choose a design, and let your child get creative.
You might start with one little sponge squishy and end up with an entire collection of colorful characters sitting on the table.
And when they finish making one and immediately ask, “Can we make another one?”, you will know you picked the right activity.