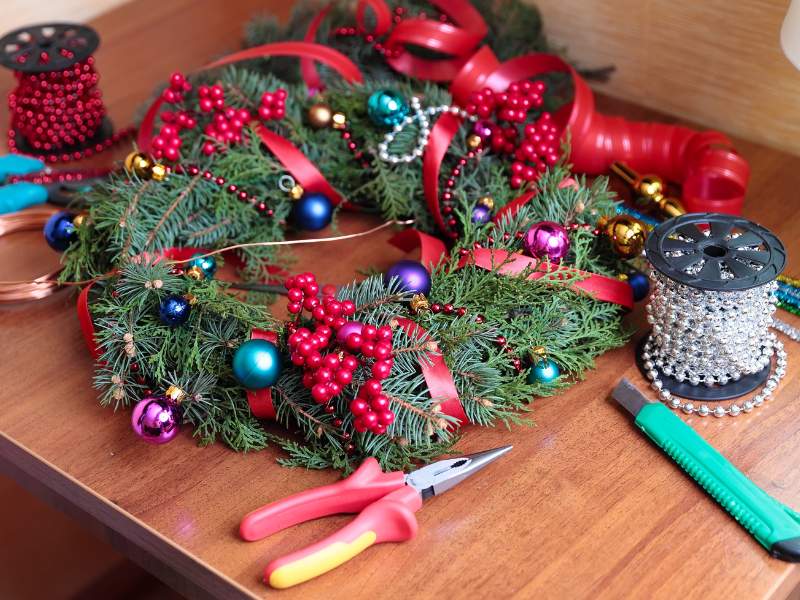

Easy Steps On How To Make A DIY Journal Book At Home.
A journal you make with your own hands carries a kind of meaning that goes beyond just paper and ink. It becomes a personal space shaped by your thoughts, your style, and your creativity. Unlike a store bought notebook, a DIY journal feels more connected to you because every detail is chosen by you from the cover to the pages inside.
If you’ve ever felt like ordinary notebooks don’t really match your vibe, making your own journal at home changes that completely. You get full freedom to decide how it looks and feels. Soft and minimal, bold and colorful, or even a mix of different textures there are no rules here. It simply reflects you.

The process itself is also calming in a quiet, natural way. Cutting, folding, arranging pages, and putting everything together helps slow things down and gives you a creative moment away from daily noise. It’s simple, but it feels grounding in a way that’s hard to explain until you try it.
So in this guide, we’ll go step by step into how to make your own DIY journal book at home something practical, personal, and truly yours.
1. Gather Your Materials
Before you start building your DIY journal, the first thing is to collect everything you’ll need so the process flows easily without interruptions. You don’t need anything expensive or complicated just simple basic items you can find at home or in a nearby store.
You’ll need sheets of paper (plain, lined, or even recycled paper if you like a more rustic feel), a strong cover material like cardboard, old notebook covers, or thick craft paper, and something to bind everything together such as thread, glue, a stapler, or even ribbon depending on the style you want. A ruler, scissors, and a pencil will also help you measure and cut neatly.
At this stage, it’s more about choosing what feels right for you. Some people prefer soft, minimal journals, while others enjoy something colorful and expressive. There’s no fixed rule your materials simply set the tone for the kind of journal you’re about to create.
2. Prepare and Fold Your Pages
Now take the sheets you picked for your journal and get them ready to become the inside of your book.
Start by stacking a few pages together (about 5–10 sheets works well), then fold them gently in half. Try to line the edges as neatly as you can so the pages sit evenly. Don’t worry if it’s not perfect just aim for something clean enough to hold together comfortably.

After folding, press along the middle crease with your fingers or a ruler to make it sharp. This crease is what will form the spine of your journal, so the better it sits, the neater your book will feel when it’s done.
You can repeat this process to create several “page sets” if you want a thicker journal. Just take your time and enjoy it this is the part where your book really starts to come to life.
3. Bind the Pages Together
Now that your pages are neatly folded, it’s time to turn them into a proper book by holding everything together.
Take one set of folded pages and line them up carefully along the crease. If you’re using thread, make small holes along the folded edge using a needle or pin, then sew through them to secure the pages tightly. If sewing feels like too much work, you can simply use strong glue along the spine or staple it in a few places for a quicker option.
If you made multiple page sets, you can join them together the same way just make sure each one is aligned properly so the journal opens smoothly without falling apart.
Take your time here. A good binding doesn’t have to look perfect, but it should feel steady when you open and close your journal.
4. Create the Cover
This is the part where your journal starts to look like something real and personal.
Take your cardboard or any thick material you chose and cut out two equal pieces for the front and back cover. Then cut a thinner strip for the spine. Make sure the sizes match your pages so everything fits nicely without hanging out.
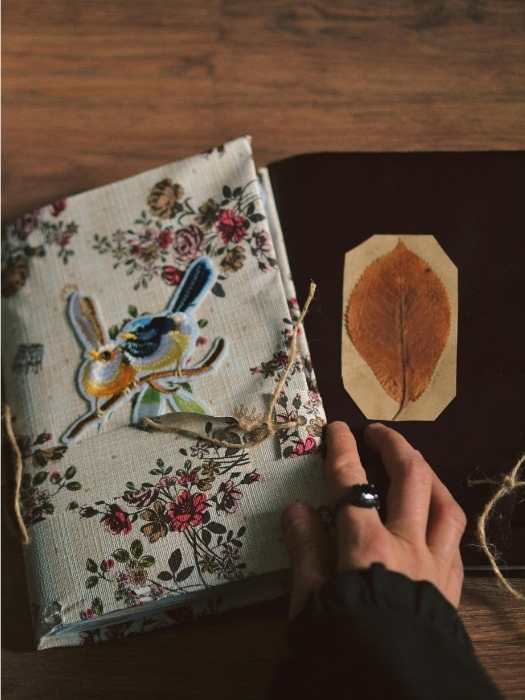
Once you have your pieces, you can cover them with decorative paper, fabric, or even plain colored paper if you prefer a simple look. Smooth it down carefully so there are no bubbles or wrinkles.
After that, attach your pages to the inside of the cover using glue or thread, depending on how you bound your journal earlier. Press it gently and let it sit for a while so everything sticks properly.
At this stage, it already starts to feel like a real journal something you can actually hold, open, and be proud of.
5. Assemble Everything Together
Now it’s time to bring the inside pages and the cover together into one complete journal.
Carefully place your bound pages inside the cover you just made. Make sure everything is aligned properly so the pages sit evenly and the spine matches up with the cover. This step is all about patience small adjustments here make a big difference in how your journal will open and close later.
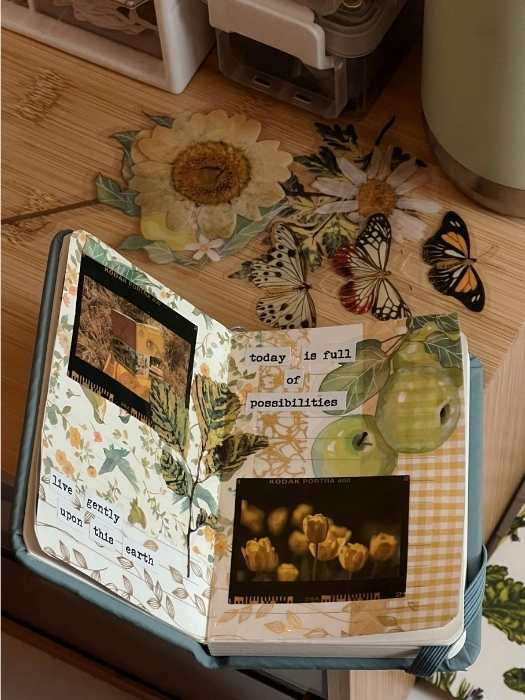
Once you’re happy with the positioning, glue the first and last pages onto the inside of the front and back cover. Press them down gently so they stick well, then close the journal and place something light and flat on top while it dries. This helps everything set neatly without shifting.
Give it some time to fully dry before opening it again. When you finally do, you’ll see your journal coming together in a solid, finished form.
6. Add Personal Touches that feels like you
Now comes the fun part where your journal really starts to feel like yours.
You can decorate the cover with anything that speaks to you stickers, drawings, magazine cutouts, fabric pieces, or even simple handwritten titles. Some people like soft minimal designs, while others go all out with color and texture. There’s no right style here, just what feels good to you.
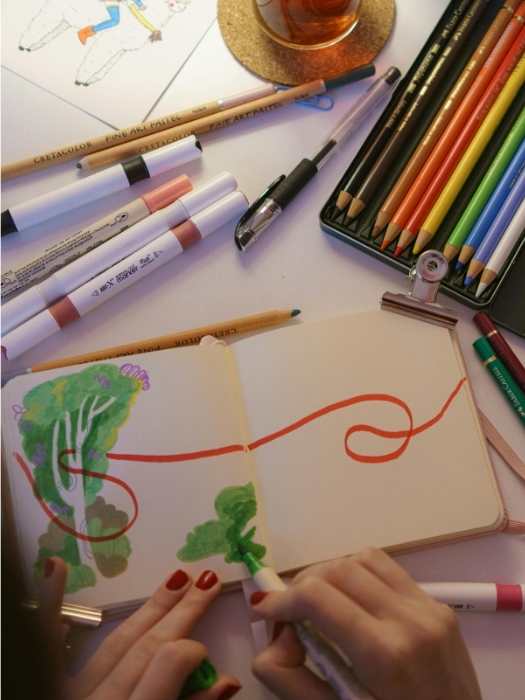
Inside the journal, you can also add little details like quotes on the first page, small doodles in the corners, or even sections you label for different things like thoughts, plans, or daily notes. These small touches make using your journal feel more personal and enjoyable.
Don’t rush this step. It’s not about making it look perfect it’s about making it feel like something you want to open every day.
7. Let It Set and Start Using It
At this point, your journal just needs a little time to fully come together. If you used glue anywhere, give it a few hours (or even overnight if you can) so everything holds firmly and doesn’t shift when you open it.
Once it’s dry and ready, open it slowly and check how it feels in your hands. The pages should turn smoothly, the cover should feel secure, and everything should sit comfortably without falling apart. If anything feels loose, you can always reinforce it with a bit more glue or tape.
Now the most important part start using it. You can write your thoughts, make plans, draw, list goals, or just use it however you like. It doesn’t need a structure unless you want one. The more you use it, the more personal it becomes.
Your DIY journal is now ready to live its purpose with you, page by page.
8. How to Keep Your Journal Lasting Longer
If you want your journal to stay in good shape for a long time, a few small habits can really help.
Try not to overstuff it with too many thick papers or heavy decorations, because that can loosen the binding over time. Keep it in a dry place so the pages don’t get damp or curl, and handle the spine gently when opening it so it doesn’t wear out too fast.
You can also add a simple protective cover or wrap it in fabric if you carry it around often. It doesn’t have to be fancy just something that keeps the edges safe.
Taking care of it like this helps your journal stay neat, so it can keep holding your thoughts and memories for as long as you need it.
9. Bonus Ideas to Make Your Journal Even More Special
If you want to take your journal a step further, there are a few simple ideas you can add to make it feel even more personal and fun to use.
You can create little sections inside your journal like a gratitude page, a monthly goal page, or even a “random thoughts” section where you just write anything that comes to mind. Some people also like adding mood trackers or small checklists to stay organized in a creative way.

Another nice idea is to include pocket pages using leftover paper or envelopes. These can hold small notes, receipts, stickers, or anything you don’t want to lose.
You can also play around with themes like making each section a different color or style so flipping through your journal feels interesting every time.
It doesn’t need to be perfect or planned too much. Just small creative touches like these can make your journal feel more alive and enjoyable to use every day.
10. Final Thoughts on How To Make A DIY Journal Book At Home
Your DIY journal isn’t just a craft project it slowly becomes a reflection of your everyday life. The pages will fill up with random thoughts, plans, sketches, and little moments you might have forgotten if you didn’t write them down.
What makes it even more meaningful is that you didn’t just buy it you created it. That alone gives it a different kind of value every time you open it.
So don’t overthink how you use it or how neat it looks. Just let it grow with you naturally, page by page.
DIY cut T-shirt Ideas to transform old shirt into cute fashion pieces
How to make diy bag charms at home for beginners