10 Simple DIY Projects Adults Can Finish in a Day.
I Am one of those People, that Love Upcycling My Old Products instead of throwing them away and that is because I enjoy DIY projects, especially when I can start in the morning and have something finished by the end of the day. Not every project needs to take an entire weekend or require a long list of complicated materials.
Sometimes, we just want a simple project that gives you a chance to be creative without taking over your whole day.
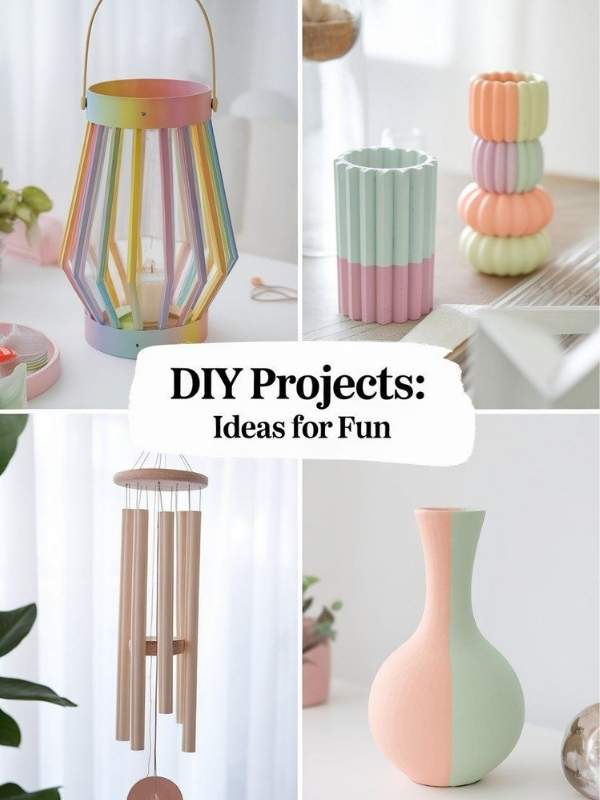
That is why I put together these 10 simple DIY projects adults can finish in a day. They are practical, affordable, and suitable for beginners. Some can help you decorate your home, while others are useful for organizing your space or making a thoughtful handmade gift.
You also don’t need to be an experienced crafter. Most of these projects use basic materials and straightforward techniques, so you can work at your own pace and still get a result you will be happy with.
Before buying anything, check what you already have at home. You may already have jars, cardboard boxes, old frames, flower pots, fabric scraps, or other materials that can be given a new purpose. You can as well Look at Creative christmas crafts for adults that look store but they aren’t
1. DIY Decorative Flower Vase
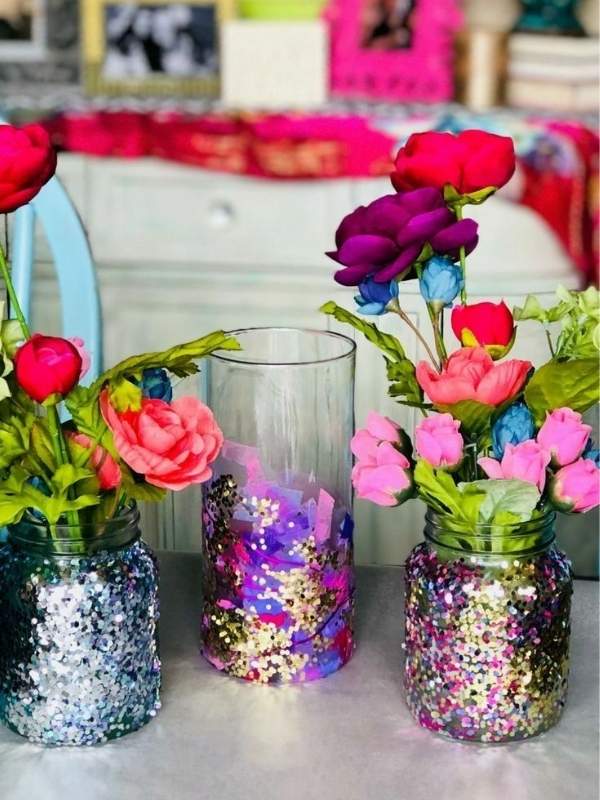
A decorative vase is a simple way to add a little personality to a room, and you don’t have to buy an expensive one to achieve the look.
An old glass jar, bottle, or plain vase can be transformed with paint, rope, ribbon, or other decorative materials.
This is also a great Diy projects if you enjoy upcycling. Instead of throwing away a container that you no longer use, you can turn it into something useful for your home.
What You Need
- A plain glass jar, bottle, or vase
- Acrylic paint
- Paintbrush
- Jute rope or ribbon
- Decorative beads or other embellishments
- Glue
- Artificial or dried flowers
How to Make It
Start by washing the container and allowing it to dry completely.
Paint the outside in your preferred color. Depending on the paint and the look you want, you may need two coats.
After the paint dries, decorate the vase with jute rope, ribbon, beads, or anything else that suits your style.
You can keep the design simple with one color and a small amount of rope, or create a more detailed pattern.
Once everything is dry, add your flowers.
Place the finished vase on a dining table, shelf, bedside table, or any empty corner that needs a little decoration. I have a post on How to make Diy glass jar lantern for your garden, This is an easy step by step guide.
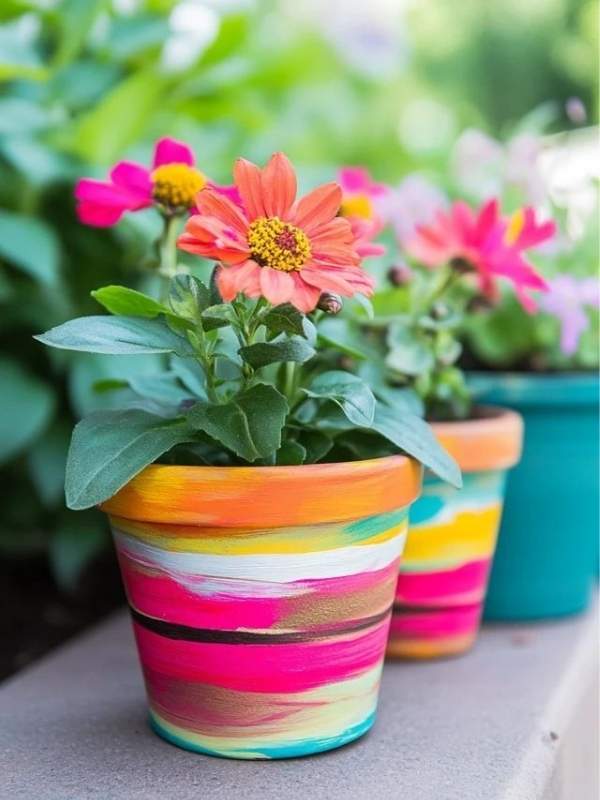
2. DIY Painted Flower Pots
Plain flower pots can look completely different after a little paint.
This is one of the easiest DIY projects for adults because you don’t need advanced crafting skills. You can create a simple design with dots and lines or go for something more colorful and artistic.
Terracotta pots work particularly well, but you can also decorate other suitable pots using paint designed for the material.
What You Need
- Plain flower pot
- Acrylic or suitable outdoor paint
- Paintbrushes
- Pencil
- Clear sealant if appropriate
How to Make It
Clean the flower pot and allow it to dry.
If you want to create a specific pattern, lightly draw the design with a pencil before painting.
You can paint flowers, leaves, stripes, dots, geometric shapes, or abstract patterns. If you prefer a minimalist look, simply paint the entire pot one color.
Allow the paint to dry properly before adding your plant. Go through My Guide on Terracotta pot painting ideas, for more knowledge on how to paint flower pots
If the pot will remain outdoors, make sure the paint and sealant you choose are suitable for outdoor use.
You can make several pots in different colors and arrange them together on a balcony, patio, windowsill, or garden area.
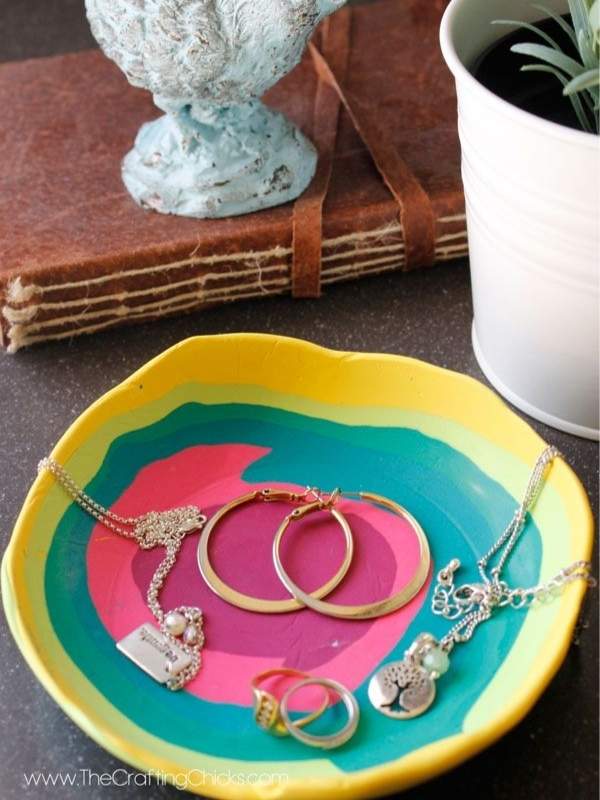
3. DIY Jewelry Dish
Small jewelry pieces can easily end up scattered across a dressing table or bedside table.
A handmade jewelry dish gives your rings, earrings, and other small accessories a designated place while adding a decorative touch to your room.
Air-dry clay is a convenient material for this project because you don’t need special equipment to shape it. Look at this guide on 10 Air dry clay ideas that look too pretty to be handmade
What You Need
- Air-dry clay
- Rolling pin or smooth bottle
- Small bowl
- Acrylic paint
- Paintbrush
- Clear sealant if desired
How to Make It
Roll the air-dry clay until it is evenly flattened.
Place it over a small bowl and gently shape it to create the curved form of a dish.
Carefully remove the clay and allow it to dry according to the instructions on the package.
Once it is completely dry, paint the dish.
You can use a single color, paint around the edges, add small flowers, create abstract designs, or write your initials.
After the paint has dried, place the dish on your dressing table or beside your bed.
It can also make a lovely handmade gift for a friend or family member.
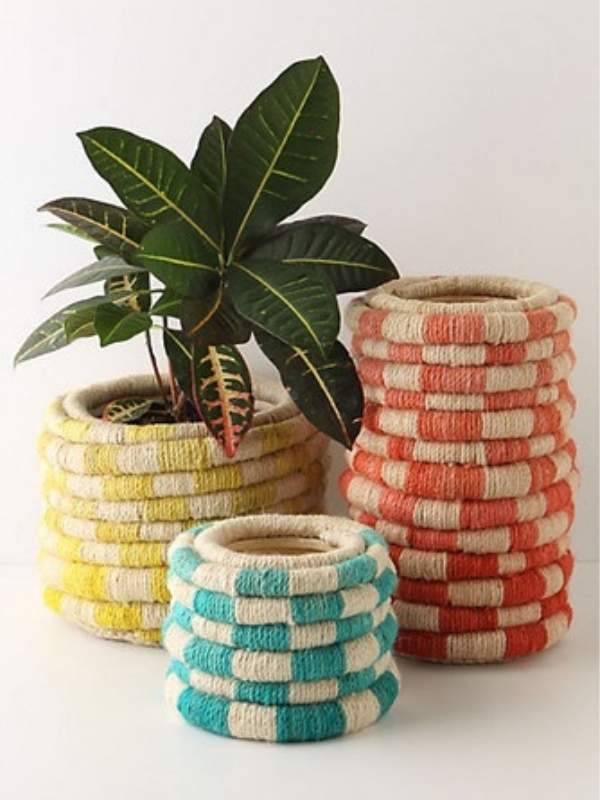
4. DIY Rope Basket
Storage baskets are useful, but they can also become part of your home decor.
With a plain basket or suitable container and some rope, you can create a decorative storage basket without spending much money.
What You Need
- Plain basket or suitable container
- Jute or cotton rope
- Strong glue
- Scissors
- Fabric for an optional lining
How to Make It
Begin at the bottom of the container.
Apply glue gradually and wrap the rope around the outside, keeping each row close to the previous one.
Continue working upward until the original surface is covered.
Take your time around the edges and corners so the rope stays neat.
For a softer finish, add a fabric lining inside the basket.
The finished basket can be used to store blankets, towels, toys, craft supplies, magazines, or other items around the house.
If you already have an old basket that looks worn out, this is also a good way to give it a fresh appearance.
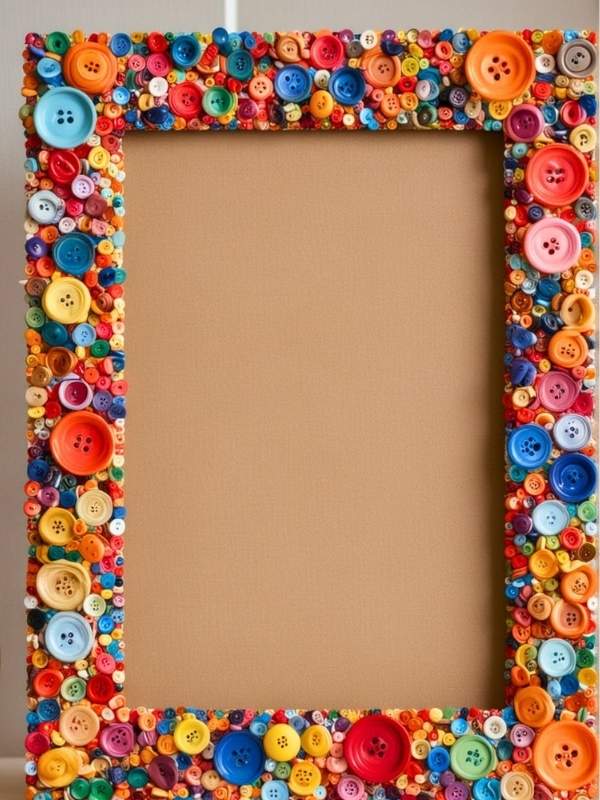
5. DIY Picture Frame Makeover
Before getting rid of an old picture frame because it looks outdated, consider giving it a makeover.
A simple coat of paint can completely change the appearance of a frame. You can also add decorative details if you want something more personalized.
What You Need
- Old or plain picture frame
- Paint
- Paintbrush
- Glue
- Beads, rope, shells, flowers, or other decorations
How to Make It
Remove the photograph and glass from the frame if possible.
Clean the frame and allow it to dry before painting.
For a simple modern look, choose one color and apply an even coat of paint.
For a more decorative finish, buttons, add beads, shells, rope, artificial flowers, or other suitable embellishments.
Allow the frame to dry completely before putting the glass and photograph back in place.
This project is particularly useful for old family photographs. Rather than buying a new frame, you can update one you already own and give the photograph a completely different presentation.
6. DIY Candle Holder
A candle holder can be a simple addition to a dining table, shelf, bedroom, or living room.
You can make one using a suitable glass container and a few decorative materials.
What You Need
- Small glass jars or suitable candle containers
- Suitable paint or decorations
- Rope or ribbon where appropriate
- Glue
- Suitable candle
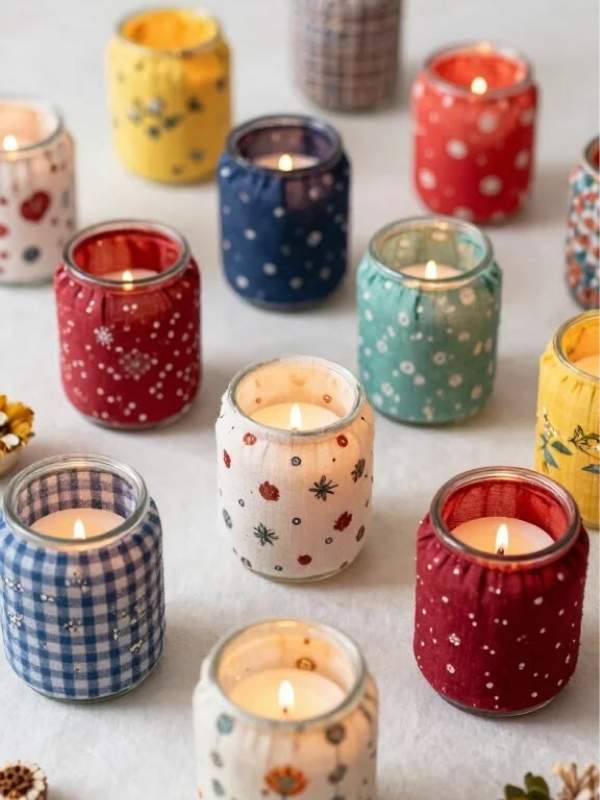
How to Make It
Clean the container thoroughly and make sure it is appropriate for the candle you plan to use.
Decorate the outside with paint or other suitable materials.
If you use rope, ribbon, or other decorative items, keep them away from the flame and areas that may become hot.
Allow everything to dry completely before placing the candle inside.
For a larger display, make several candle holders and arrange them together.
Always follow the manufacturer’s safety instructions for the candle and container, and never leave a burning candle unattended.
7. DIY Abstract Wall Art
You don’t need professional painting skills to make your own wall art.
Abstract artwork is particularly beginner-friendly because you don’t have to create a realistic picture. Simple lines, shapes, brush strokes, and blocks of color can create an attractive piece. check out this 15 new year wall art decor ideas you can recreate
What You Need
- Blank canvas
- Acrylic paint
- Paintbrushes
- Pencil
- Painter’s tape if desired
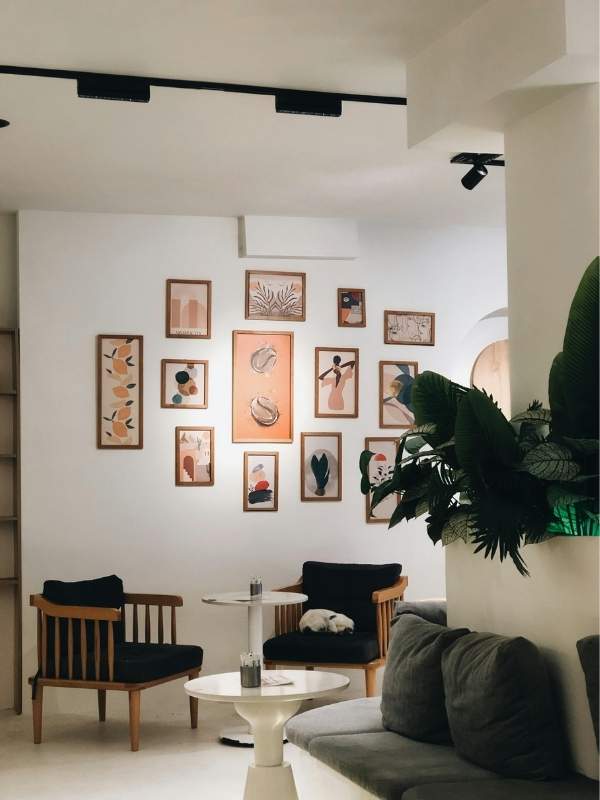
How to Make It
Choose two or three colors that work well together.
Lightly sketch your idea on the canvas if you want a guide.
Start painting your shapes, lines, curves, or blocks of color.
Painter’s tape can be used to create clean geometric sections.
Don’t worry about copying a complicated painting. Start with simple shapes and build the design gradually.
Once the painting is completely dry, you can frame it or hang it directly on the wall.
One advantage of making your own artwork is that you can choose colors that already work with your furniture, curtains, rugs, or other decorations.
8. DIY Personalized Mug
A personalized mug can be a simple handmade gift for a friend, family member, coworker, or even yourself.
You can add a name, initials, short phrase, or simple illustration. Go through this guide to see, Retirement Gift ideas for dad who says he wants nothing, for more Diy Personalized projects ideas.
What You Need
- Plain mug
- Ceramic paint or suitable ceramic marker
- Pencil
- Optional stencil

How to Make It
Wash and dry the mug before decorating it.
Plan your design on paper first. This gives you an opportunity to make changes before putting anything on the mug.
Once you are happy with your design, transfer it to the mug using a product specifically made for ceramic surfaces.
Follow the manufacturer’s instructions for curing or baking the design if required.
Before using or gifting the mug, check whether the finished design is dishwasher-safe.
A personalized mug doesn’t need a complicated design. Even a person’s name written neatly can make a simple mug feel more personal.
9. DIY Fabric Storage Box
If you have sturdy cardboard boxes that you were planning to throw away, turn them into storage boxes instead.
Covering a box with fabric can give it a cleaner and more decorative appearance while providing useful storage around the house.
What You Need
- Sturdy cardboard box
- Fabric
- Fabric-safe adhesive
- Scissors
- Ruler
- Ribbon for optional decoration
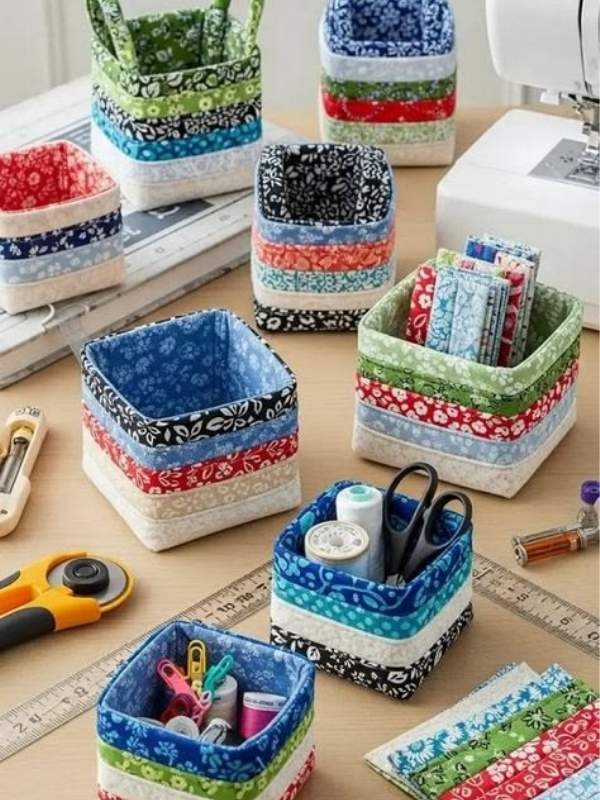
How to Make It
Measure the box carefully before cutting the fabric.
Cut enough fabric to cover the sides and allow extra material for folding around the edges.
Apply the adhesive gradually and smooth the fabric as you work.
Pay particular attention to the corners. Neat folds will give the finished box a more polished appearance.
Once the outside is covered, add ribbon around the top edge if desired.
These storage boxes can be used for craft supplies, accessories, scarves, cables, children’s items, magazines, or anything else that needs a proper place.
You can also make several boxes using coordinating fabrics and arrange them together on a shelf.
10. DIY Seasonal Wreath
A seasonal wreath is a versatile DIY project because you can change the decorations according to the time of year.
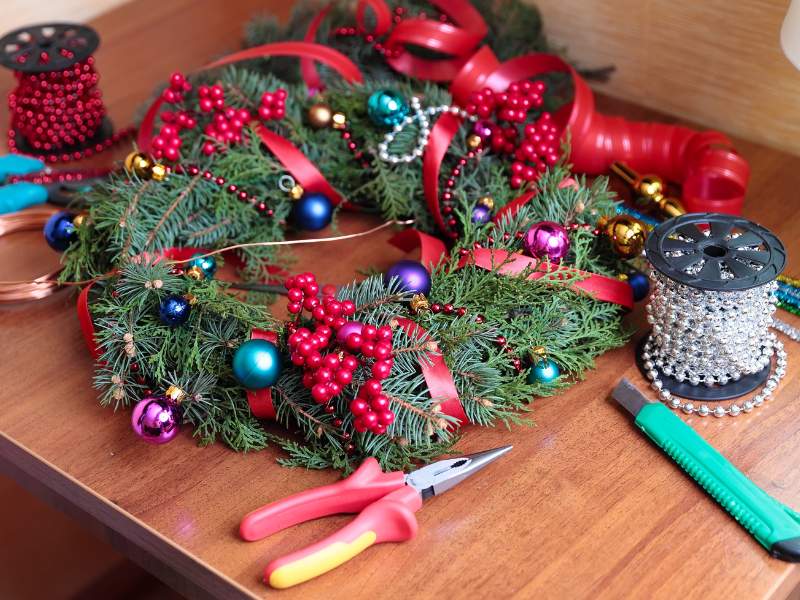
You can create a fall wreath with artificial leaves, a Christmas wreath with greenery and ribbons, or a spring wreath with flowers.
You can also make a simple neutral wreath that works throughout the year. see how to make diy fall wreath for front door for a beautiful autumn that is easy to recreate.
What You Need
- Wreath form
- Artificial leaves or flowers
- Ribbon
- Glue gun
- Scissors
- Seasonal decorations
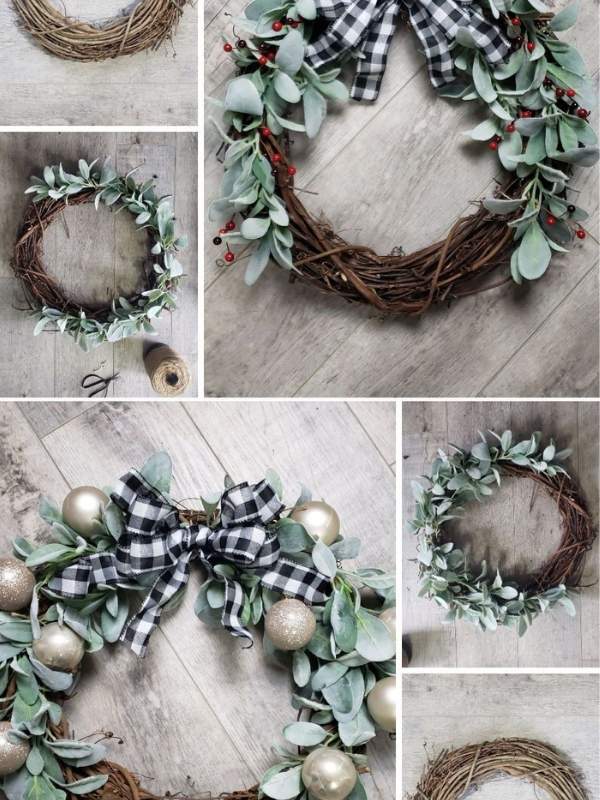
How to Make It
Start by arranging your decorations around the wreath form without gluing them.
Move the flowers, leaves, ribbons, and other pieces around until you are happy with the arrangement.
Once you have the design you want, secure each piece with glue.
Add a ribbon or hanging loop at the top.
Allow the glue to set before hanging the wreath.
Planning the arrangement before gluing is important because it gives you the opportunity to change the design without having to remove decorations later.
How to Finish Your DIY Projects in One Day
Even simple DIY projects can take longer than expected if you don’t prepare beforehand.
Before starting, read through the instructions and gather all the materials you need. This saves you from stopping halfway through the project to search for something you forgot.
Pay attention to drying time as well.
A project might take only an hour to assemble but several additional hours for paint, glue, clay, or other materials to dry.
If you have only a few hours available, choose a project with minimal drying time.
It can also help to prepare your workspace before you begin. Cover your table, arrange your materials within reach, and keep cleaning supplies nearby.
This makes the process easier and prevents you from wasting time looking for things while you’re working.
Don’t Worry About Making Everything Perfect
One of the biggest mistakes beginners make with DIY is trying to make their first project look exactly like a professional example.
Your project doesn’t have to be perfect.
A painted flower pot can have slightly uneven lines. A clay jewelry dish can have an irregular edge. Your wall art may look different from what you originally imagined.
That doesn’t mean the project failed.
The purpose of DIY is to create something yourself, experiment with your creativity, and make something that fits your personal style.
I have found that simple projects are often more enjoyable when you give yourself permission to experiment instead of worrying about every tiny detail.
Final Thoughts On Diy Projects
You don’t need an entire weekend or a large collection of expensive craft supplies to enjoy DIY.
A free afternoon and a few basic materials can be enough to create something useful or beautiful for your home.
These 10 simple DIY projects adults can finish in a day are a good starting point if you want to try something creative without committing to a complicated project.
If you are new to DIY, start with something simple such as the painted flower pot, picture frame makeover, or decorative vase.
Once you get comfortable, you can move on to projects that require a little more time and creativity.
The best part is that you don’t always have to buy something new. An old jar can become a vase, a plain pot can become colorful home decor, and a cardboard box can become a useful storage container.
With a little creativity, ordinary items around your home can become something you will actually enjoy using.