
4th Of July Crafts for Adults, To Inspire You.
The 4th of July always brings a certain kind of energy with it relaxed, festive, and full of little moments that feel worth enjoying. The colors alone make everything feel brighter, and even simple things like setting up a space or planning a small gathering suddenly feel more special.

It’s also a nice chance to slow down and do something creative for yourself. Not something stressful or complicated, but those easy, hands-on activities that help you unwind while still getting into the holiday spirit. Whether you’re decorating your home, preparing for friends and family, or just spending a quiet day at home, a bit of DIY adds a personal touch that makes everything feel more intentional.
For adults especially, crafts can feel like a refreshing break from routine a way to relax, play with ideas, and create something that fits your own style instead of just buying ready-made décor. It doesn’t have to be perfect; it just has to feel good to make.
So in this post, I’ll be sharing simple and creative 4th of July crafts for adults that are easy to enjoy and bring a little festive charm into your space.
1. Patriotic Candle Jar for 4th of July Crafts for Adults
This is one of those simple crafts that can instantly change the feel of a space without much effort. It has that soft, cozy glow that makes everything feel a bit more special and put together for the holiday.
What You Need
- Clear glass jars (recycled jars work well)
- Red, white, and blue ribbons
- LED candles (or small fairy lights)
- Optional: glitter, stickers, or twine
How to Make It (Step-by-Step)
- Clean your jars properly
Wash and dry them so there’s no dust, labels, or stickiness left. A clean surface makes everything look neater in the end. - Choose your design style
Decide if you want it simple, layered, or a bit decorative. This helps you know how you’ll arrange your ribbons before you start. - Wrap the ribbons around the jar
Start with one color and gently wrap it around the middle or neck of the jar. You can layer different colors or space them out depending on your style. - Secure and decorate
Tie small bows or use a tiny bit of glue to hold the ribbons in place. If you like a little sparkle, lightly add glitter or small decorative stickers. - Add your light source
Place an LED candle or fairy lights inside the jar. Make sure it fits nicely and sits flat so it glows evenly. - Arrange and display
Place your finished jars on a table, balcony, or entryway. They look especially beautiful in groups of two or three.
This craft is really about ease and mood nothing complicated, just something calming to make and pretty to look at when you’re done.
2. Red, White & Blue Painted Mason Jars
If you like something a little more creative and hands-on, this one is really fun. It’s simple, but the end result looks like something you’d actually buy in a décor store.
What You Need
- Mason jars or any glass jars
- Acrylic paint (red, white, blue)
- Paintbrush or sponge
- Painter’s tape (optional)
- Clear sealant spray (optional)
How to Make It (Step-by-Step)
- Prepare your jars
Wash and dry the jars properly so the paint sticks well. Make sure there’s no oil or dust on the surface. - Plan your design
Decide if you want stripes, solid colors, or a dipped-paint effect. You can even tape off sections if you want clean lines. - Start painting
Apply your first color using a brush or sponge. Don’t rush it — thin layers look better than thick ones. - Let each layer dry
Give it some time to dry before adding another color. This helps avoid smudging and keeps the finish neat. - Add details (optional)
Once the base colors are dry, you can add stripes, dots, or small patterns for extra character. - Seal it (optional but nice)
If you want your jars to last longer, lightly spray a clear sealant over them once everything is dry. - Style your jars
Use them as flower vases, utensil holders, or even candle holders for your 4th of July setup.
This craft is especially satisfying because you can really make it your own. No two jars ever look the same, and that’s what makes it so charming.
3. DIY 4th of July Wreath
A wreath is one of those crafts that instantly makes your home feel festive. The nice thing is, you don’t need to be super “crafty” to make it look good it’s all about layering simple elements in a pretty way.
What You Need
- Wreath base (foam, grapevine, or wire frame)
- Red, white, and blue ribbons or fabric strips
- Artificial flowers (optional)
- Small flags or star cutouts
- Hot glue gun or strong glue
- Scissors
How to Make It (Step-by-Step)
- Set up your base
Start with your wreath frame and place it on a flat surface so it’s easy to work on. - Add your base layer
Wrap ribbons or fabric strips around the wreath. You can mix colors or keep sections of each color for a cleaner look. - Build texture with layers
Add extra ribbons, mesh, or fabric in small bunches to give the wreath volume and a fuller appearance. - Place your decorative pieces
Glue on flowers, mini flags, or star shapes. Try not to overcrowd one side — spread things evenly for balance. - Check your design
Step back and look at it from a distance. Adjust anything that feels too heavy on one side or uneven. - Secure everything properly
Once you’re happy, go over loose areas with glue so everything stays in place. - Hang it up
Place it on your front door, wall, or even above a fireplace if you have one.
This wreath is one of those crafts that really sets the tone for your home during the holiday. It’s simple, customizable, and gives that warm welcoming feel as soon as someone walks in.
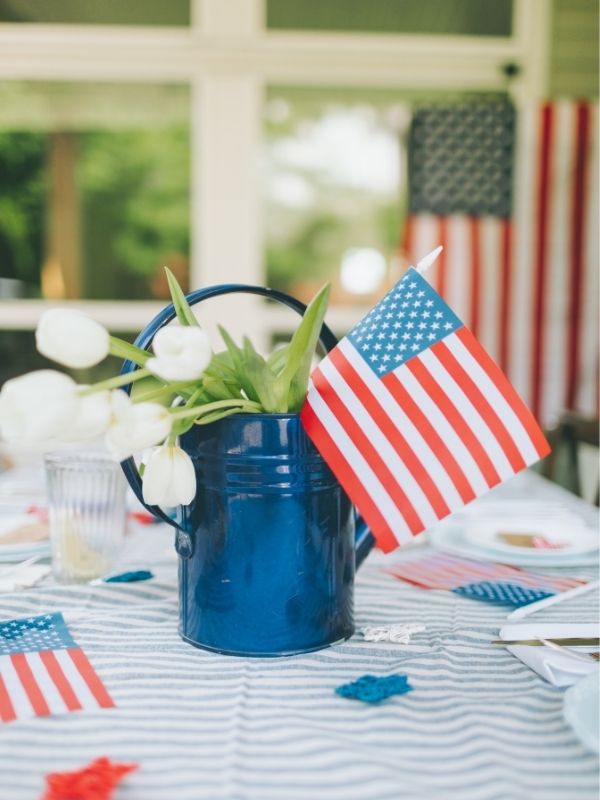
4. 4th of July Patriotic Table Centerpiece
This is a really nice one if you’re planning to host or just want your space to feel a bit more put together for the holiday. It’s simple, but it pulls everything together and makes even a basic table look festive.
What You Need
- A tray, wooden board, or shallow bowl
- Small mason jars or mini vases
- Red, white, and blue flowers (real or artificial)
- Mini flags or star decorations
- Candles or LED tea lights
- Pebbles, sand, or decorative filler (optional)
How to Make It (Step-by-Step)
- Choose your base
Start with a tray or board that will hold everything together. This helps your arrangement look neat and intentional. - Arrange your jars or vases
Place your mason jars or mini vases in different spots on the tray. Don’t line them up too perfectly a slightly uneven layout looks more natural. - Add flowers
Fill each jar with red, white, and blue flowers. You can mix them or keep each jar in a single color theme. - Include candles for glow
Place small candles or LED lights between the jars. This adds a soft, warm touch, especially in the evening. - Decorate the gaps
Fill empty spaces with pebbles, star confetti, or tiny flags to tie everything together. - Adjust the balance
Step back and check how it looks. Shift items around until it feels visually balanced from all sides. - Place it on your table
Use it as a dining table centerpiece, coffee table décor, or even an outdoor picnic table setup.
This kind of centerpiece doesn’t need to be perfect it just needs to feel warm, festive, and inviting.
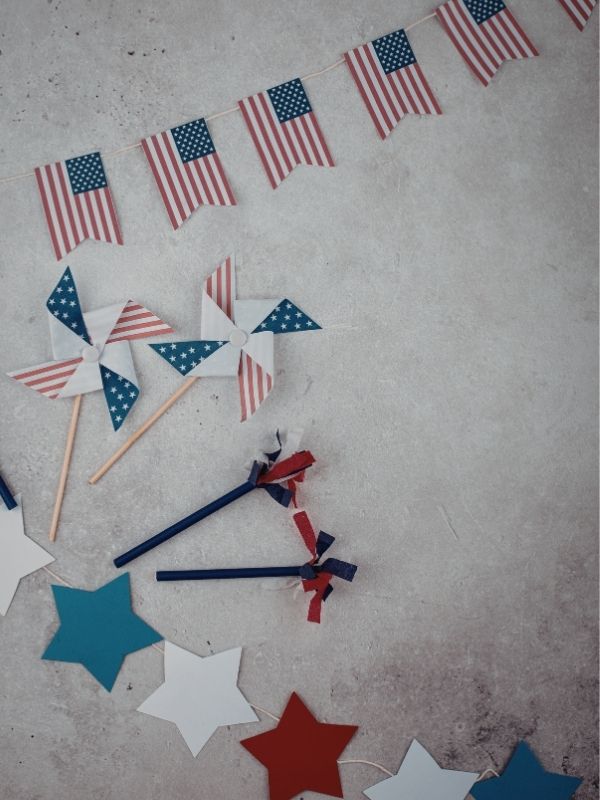
5. DIY Patriotic Garland for 4th of July Crafts for Adults
A garland is one of the easiest ways to add instant 4th of July charm to any space. You can hang it across a wall, mantel, doorway, or even outdoors for a simple but festive touch.
What You Need
- Red, white, and blue cardstock or felt
- Scissors
- String, twine, or ribbon
- Glue or tape
- Hole punch (optional)
- Star stencils or cookie cutter (optional)
How to Make It (Step-by-Step)
- Cut out your shapes
Start by cutting stars, circles, or flag shapes from your paper or felt. Try mixing different sizes for variety. - Create your design pattern
Lay your shapes out first so you can decide the order of colors before attaching anything. - Attach shapes to string
Use glue, tape, or a hole punch with string to connect each piece. Space them evenly so it looks balanced. - Add layers if you want more detail
You can double-layer shapes (like a white star on a red circle) to make it look more dimensional. - Secure everything properly
Check that each piece is firmly attached so nothing slips when you hang it. - Hang your garland
Drape it across your chosen space fireplace, wall, balcony railing, or party table backdrop. - Adjust for final look
Spread out the shapes slightly so it hangs nicely and doesn’t bunch up in one spot.
This craft is really flexible and fun because you can keep it super simple or make it bold and colorful depending on your style.
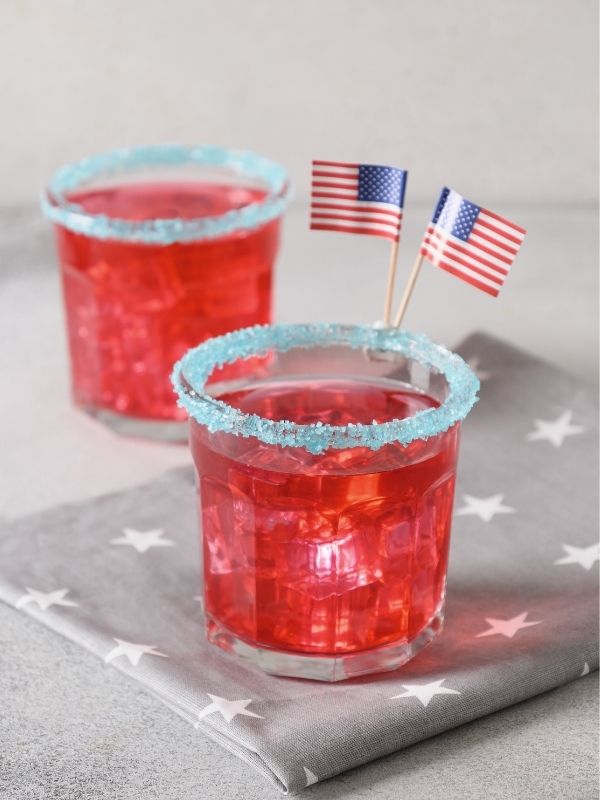
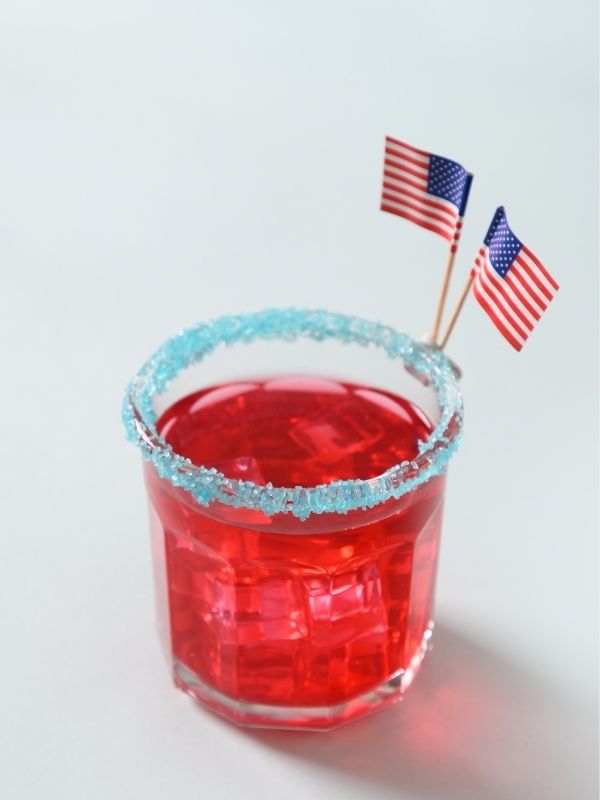
6. Patriotic Drink Stirrers
This is a small detail, but it makes a big difference when you’re serving drinks at a 4th of July gathering. It’s simple, cute, and gives everything that extra festive touch without much effort.
What You Need
- Wooden skewers or cocktail sticks
- Red, white, and blue paper or cardstock
- Scissors
- Glue or tape
- Mini star punches or stickers (optional)
How to Make It (Step-by-Step)
- Cut out your shapes
Start by cutting small shapes like stars, hearts, or mini flags from your colored paper. - Decorate your cutouts
You can layer colors or add tiny details like stripes or stickers to make them more fun. - Attach to sticks
Glue or tape your cutouts to the top of each skewer or cocktail stick. Make sure both sides are secured so they don’t flop over. - Let them dry
If you used glue, give them a few minutes to dry completely before using. - Arrange in a cup or jar
Place them upright in a small jar or cup so they’re easy to grab when serving drinks. - Use them for your drinks
Add them to lemonade, mocktails, or party drinks for an instant festive upgrade.
This little craft is super quick, but it really pulls your whole setup together. It’s one of those details guests always notice, even if it’s simple.
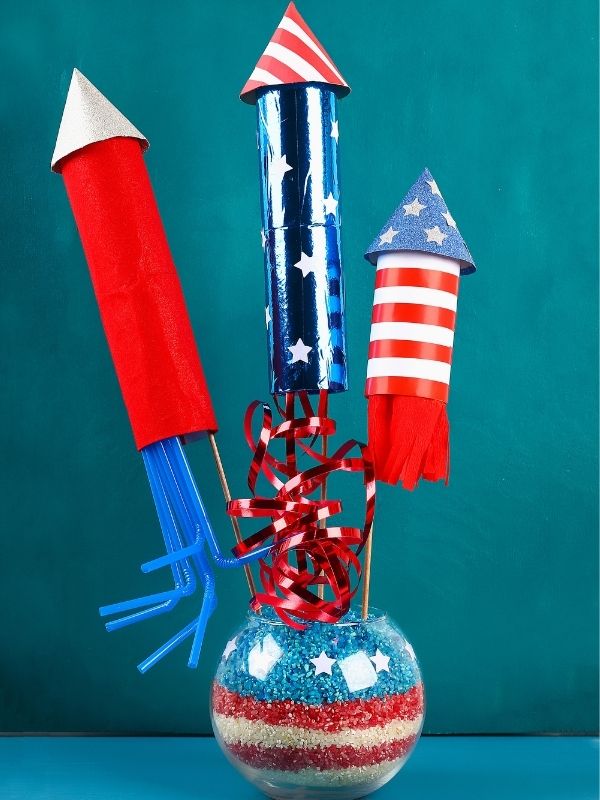
7. Firecracker Mason Jar Lanterns
This one has a bold, festive feel and looks especially beautiful in the evening. It’s simple to make, but it gives off that cozy outdoor glow that really fits the 4th of July mood.
What You Need
- Mason jars or any clear glass jars
- Red, white, and blue tissue paper
- Mod Podge or glue mixed with a little water
- Paintbrush or sponge brush
- LED tea lights or fairy lights
- Optional: twine, glitter, star stickers
How to Make It (Step-by-Step)
- Prepare your jars
Clean and dry your jars so the surface is smooth and ready for glue. - Tear your tissue paper
Tear the red, white, and blue tissue paper into small uneven pieces. The irregular shapes give a nice textured effect. - Apply glue to the jar
Brush a thin layer of Mod Podge or glue mixture onto a small section of the jar at a time. - Stick on the tissue paper
Place the tissue pieces onto the glued area, overlapping colors as you go. Continue until the jar is fully covered. - Seal the design
Once everything is covered, brush another light layer of glue over the top to seal it. Let it dry completely. - Add finishing touches
You can wrap twine around the top or add small star stickers for extra detail. - Insert the light
Place an LED tea light or fairy lights inside the jar to create a glowing effect. - Display your lanterns
Line them up on your porch, table, or walkway for a soft, patriotic glow.
These lanterns feel really special at night warm, glowing, and just enough sparkle to make the space feel alive without doing too much.
8. DIY Star-Spangled Coasters for 4th of July crafts for Adults
This is one of those crafts that is both pretty and practical. You end up with something you can actually use during your 4th of July hangout, and it still looks festive on the table.
What You Need
- Plain cork or ceramic coasters
- Acrylic paint (red, white, and blue)
- Paintbrushes or sponge
- Painter’s tape (optional)
- Clear sealant spray or varnish
- Star stencil (optional)
How to Make It (Step-by-Step)
- Clean your coasters
Wipe them down so there’s no dust or oil. This helps the paint stick better. - Plan your design
Decide if you want stars, stripes, or a mix of both. You can keep it simple or get a bit more creative. - Add base colors
Paint the background in red, white, or blue. Let each coat dry properly before moving to the next step. - Create your patterns
Use painter’s tape for clean stripes or a stencil for neat star shapes. Then paint over your design carefully. - Let everything dry fully
This part is important so the colors don’t smudge or mix. - Seal your coasters
Once dry, apply a clear sealant to protect the paint from water and heat. - Let them cure and use
Leave them for a few hours (or overnight if possible) before using them.
Conclusion
At the end of the day, these 4th of July crafts for adults are really just a fun way to enjoy the holiday a little more. Nothing too serious, nothing complicated , just simple things you can put together that instantly make your space feel more festive.
Even trying one or two of these ideas can change the mood of your home and make the celebration feel more personal. It’s less about how perfect everything looks and more about enjoying the process while you’re doing it.
I hope these ideas give you something easy and enjoyable to try this 4th of July, whether you’re hosting people or just spending a quiet day at home.
Check out my post on

