How to get the perfect coachella nail trends, Step by Step.
I don’t know about you, but when Coachella season starts getting close, one of the first things I think about is my nails. Like yes, outfits are important, hair matters too, but nails? Nails really pull everything together. It’s that small detail that just makes your whole look feel complete cute.
And the thing about Coachella nails is that there are really no strict rules. It’s one of those times where you can actually have fun, try something different, and not overthink it. If you’re into soft, simple designs or you like something bold and a little extra, there’s always a way to make it work and still feel like yourself.
I’ve also noticed that Coachella nail trends keep changing every year, but somehow they still stay true to that same vibe fun, expressive, a little bit messy in a cute way, and definitely eye-catching. You’ll see everything from chrome finishes and bright colors to neutral tones with tiny details, and honestly, that’s what makes it exciting. There’s no pressure to be perfect.
What I personally love is how your nails can match your mood. Some days you want something soft and pretty, other days you want something that stands out immediately and Coachella is literally the perfect excuse to do both. You can mix colors, try new shapes, add little details, and just enjoy the process without feeling like it has to be too much.
So if you’ve been wondering what kind of coachella nail trends to go for this season or you just need a little inspiration, I’m going to walk you through it step by step in a way that’s super easy and realistic. Nothing complicated, nothing overwhelming just cute ideas that actually work and still feel like you.
Step 1: Decide the Vibe You Want
Before I even touch nail polish or think about patterns, the first thing I do is figure out the overall vibe I want for my Coachella nails. Honestly, this is the most important step because nails are not just about color they’re a vibe, especially at a festival like Coachella.
I ask myself a few questions: Do I want something soft and feminine, like pastel pinks, nudes, or subtle sparkles? Or am I in the mood for something bold and dramatic, like neon shades, chrome finishes, or a mix of crazy fun designs on each nail? Sometimes I even go a little artsy with abstract swirls or tiny flower details, it really depends on the mood I’m feeling that year.
Deciding the vibe first makes everything else so much easier. Once I know the feeling I want, choosing colors and nail shapes becomes easy. I’m not scrolling through endless inspiration photos wondering what to pick; I already have a direction.
Another thing I love about starting with the vibe is that it lets me think about how my nails will match the rest of my festival look. Are my nails going to complement my outfit, or maybe even add a pop of color? Should they match my accessories, like rings or bracelets? Thinking about it this way makes the whole look feel cohesive and intentional rather than random.
And here’s a little secret, sometimes I even let my nails inspire my outfit instead of the other way around. Like, if I pick a fun neon green for one of my nails, I’ll find a subtle way to repeat that color somewhere in my outfit maybe in a top, bag, or even earrings. It’s such a small thing, but it makes the whole festival look feel pulled together.
So, take your time with this step. Play with ideas, mix and match colors in your head, and imagine what would feel fun, freeing, and totally “you.” Once the vibe is locked in, everything else designs, colors, nail shape will naturally follow, and you’ll already be halfway to your perfect Coachella nail trends.
Step 2: Picking Colors & Designs for Coachella Nail Trends
Once I’ve figured out the vibe, the next step is all about the fun part choosing colors and designs. This is where Coachella nails really start to shine because this is your chance to be creative, bold, or totally unique.
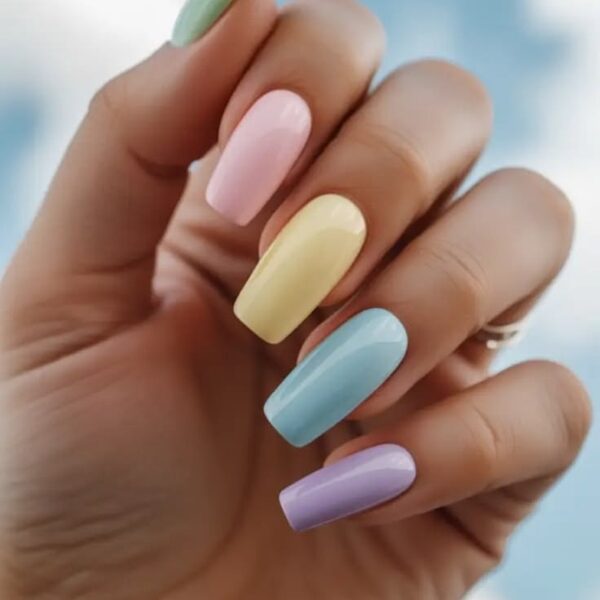
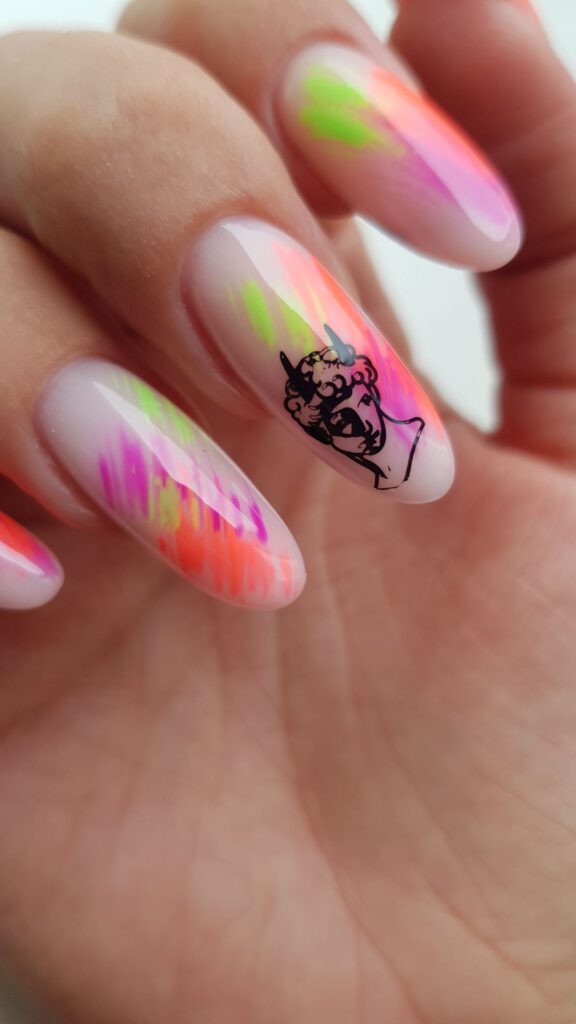
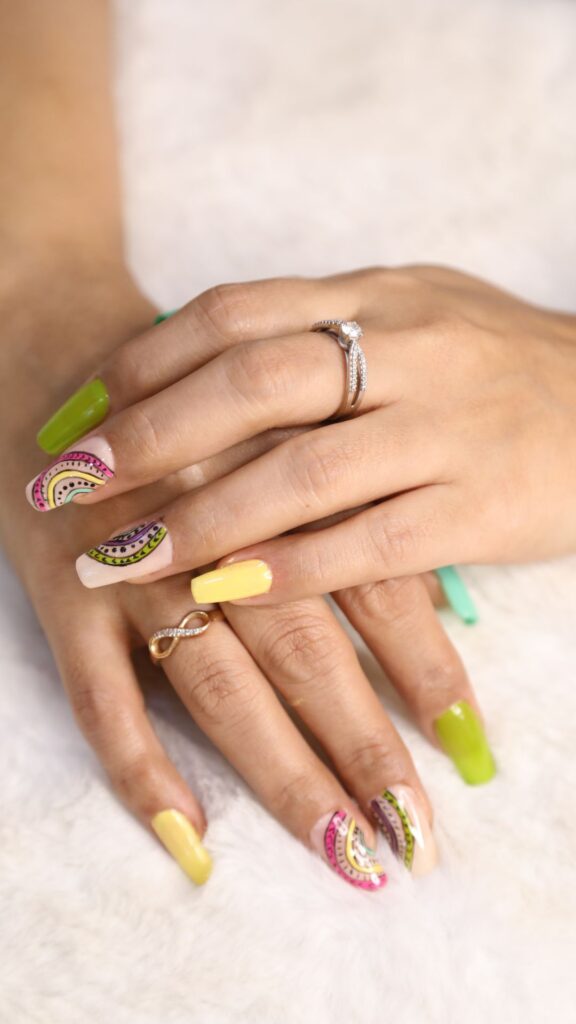
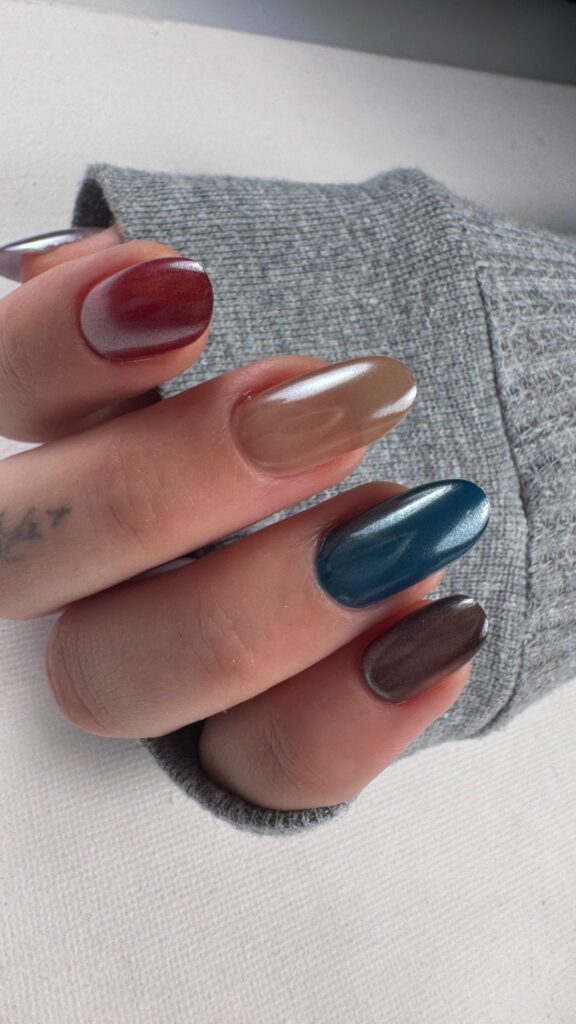
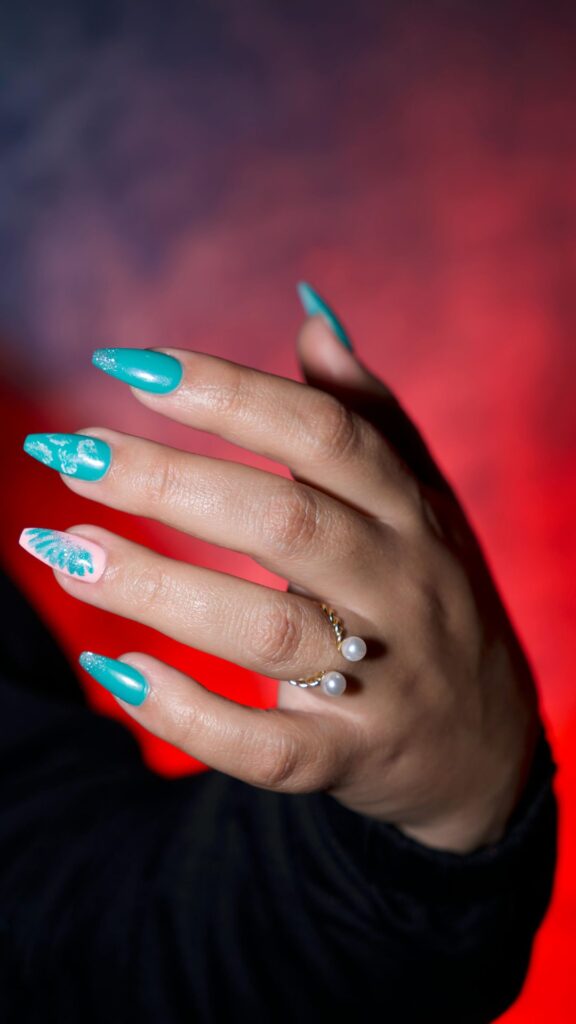
For colors, I usually think in terms of the festival energy. If I want soft and dreamy, I go for pastels like lilac, mint green, or baby pink. They’re feminine, pretty, and look amazing in photos. If I’m feeling bold, neon shades like hot pink, electric orange, or even bright yellow immediately give that festival pop energy. Sometimes I even mix and match colors like one hand pastel, the other neon or create a gradient effect. It’s surprisingly easy to pull off once you know the vibe you’re going for.
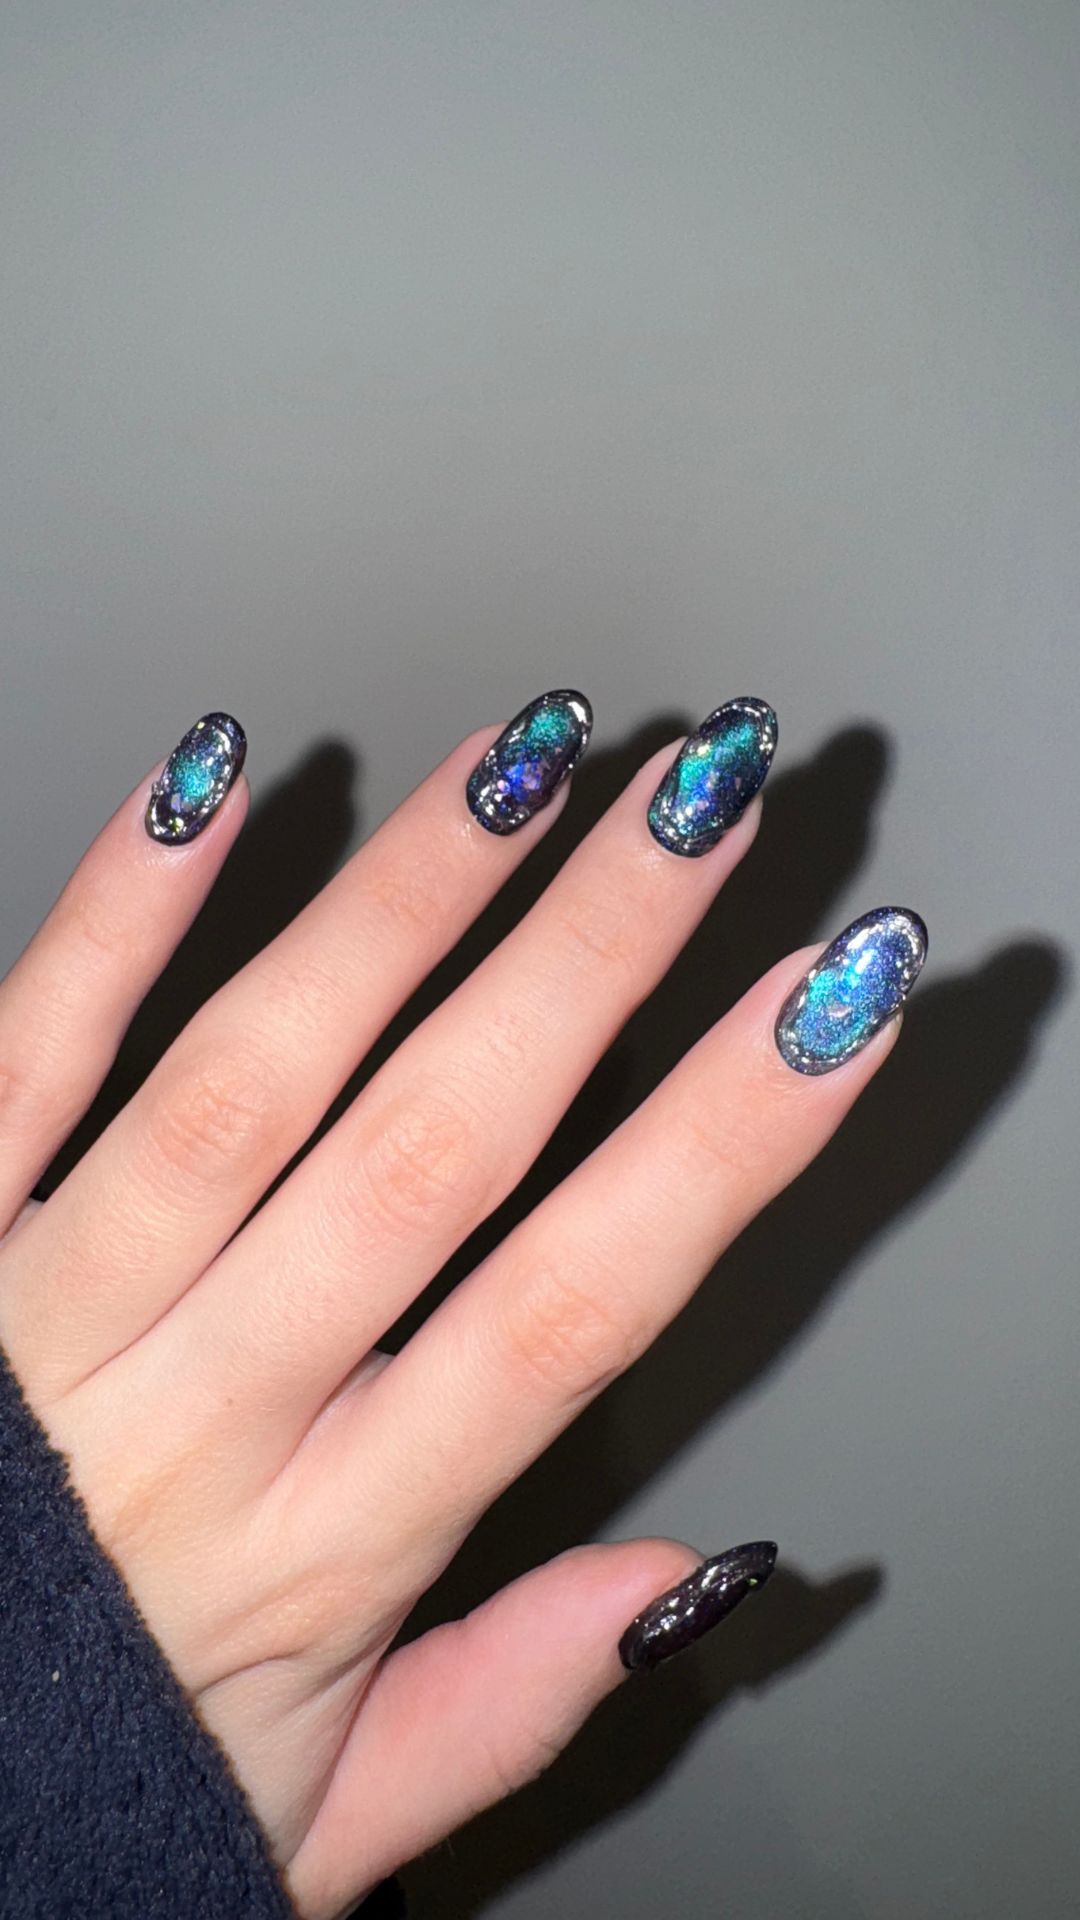
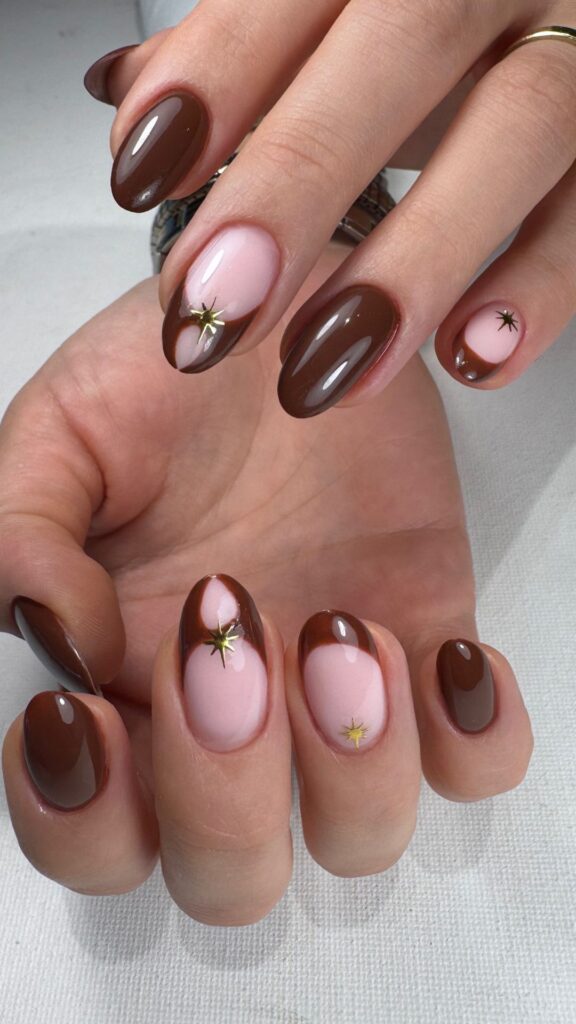
Next, designs. I love Coachella nails that tell a little story or add that extra “wow” factor without being too complicated. Minimalist patterns like tiny dots, swirls, or French tips with a twist are always cute. For a more dramatic look, chrome finishes, glitter accents, and tiny rhinestones make your nails stand out in a crowd. Floral designs or abstract shapes are also trending these give a soft, artsy vibe perfect for festival photos.
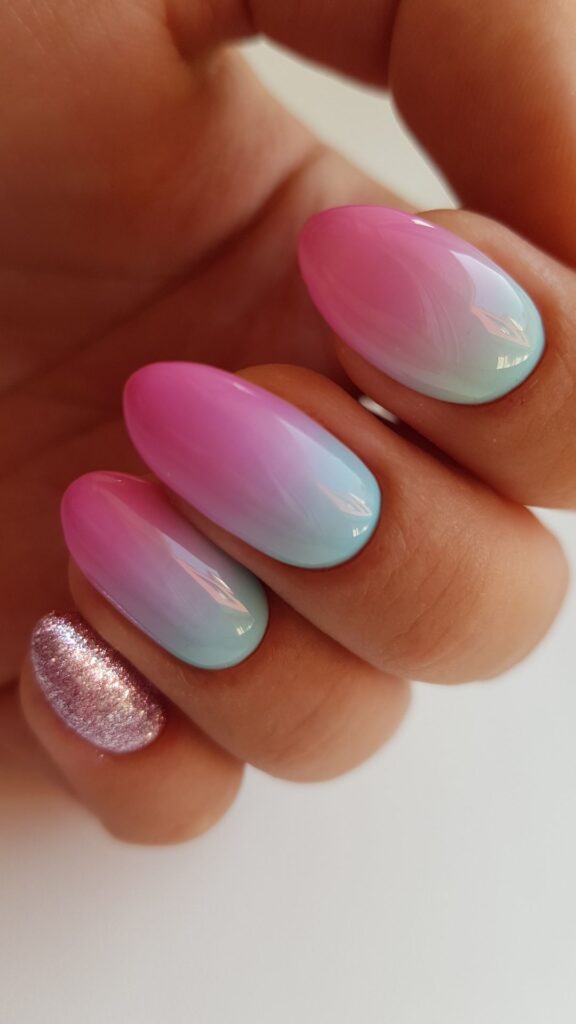
And here’s a tip I swear by less is more on some nails, extra on others. For example, I might do a glitter accent nail or one with a tiny design, and keep the rest solid. It looks intentional but not overdone, and it adds a fun balance between bold and subtle.
Another thing I think about at this stage is how my nails will interact with my outfit and accessories. If I’m wearing something colorful or patterned, I tend to pick a more neutral base with small details. If my outfit is simple, I can go all out with bright colors, chrome, or nail art. That little balance makes the whole look feel polished and cohesive.
Step 3: Choosing the Right Nail Shape & Length
After deciding the vibe and picking colors and designs, the next big thing I think about is nail shape and length. You wouldn’t believe how much this can change the whole look! Even the same color or design can feel completely different depending on the shape of your nails.
For Coachella, I usually go for medium length nails, not too long that they get in the way, but long enough to really show off the designs. Festival nails should be fun, but you also want to be able to dance, eat, take photos, and live your best festival life without worrying about breaking them.
As for shapes, here’s what I usually consider:
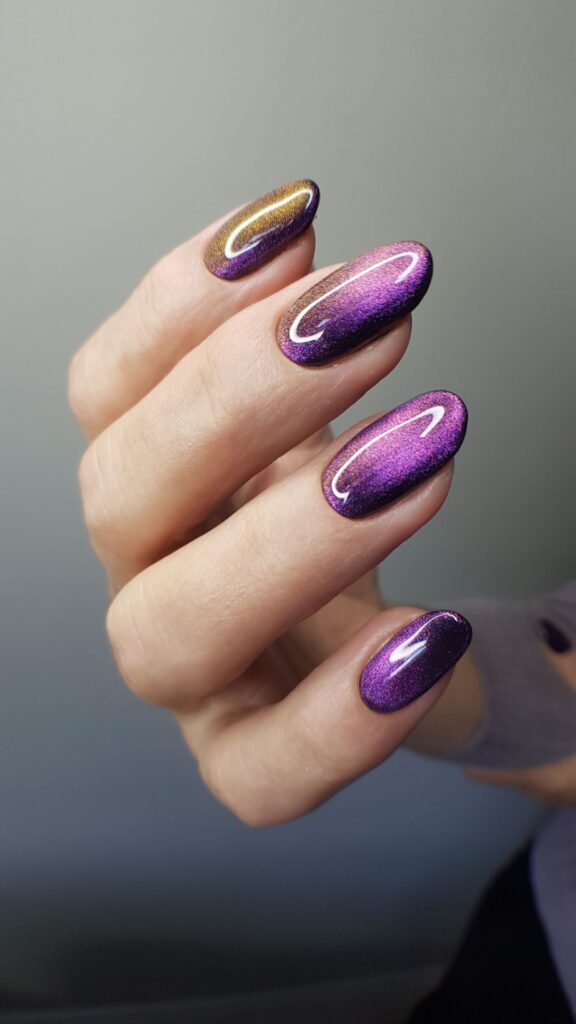
- Almond: My personal favorite. It’s elegant, feminine, and works with almost any design plus, it makes your fingers look longer.
- Square or squoval: Simple and classic. Works well if you want a more subtle look or bold patterns because it gives more surface area for designs.
- Round: Soft and practical, perfect if you like minimalistic nails or don’t want to worry about chipping.
Sometimes I even mix shapes a little if I’m feeling playful like almond on most nails and a stiletto accent nail but that’s only if I’m in a really bold mood.
Another thing I always think about is how the shape complements my hands and festival vibe. If your hands are petite, shorter nails with a softer shape look delicate and pretty. If you want drama, a longer almond or stiletto shape gives a festival ready, eye catching effect.
Honestly, taking a few extra minutes to think about shape and length makes a huge difference. It can take the exact same colors and design from cute to wow, that is so festival perfect!”
By the end of Step 3, your nails already have personality they match your vibe, your colors, and they’re ready to make a statement. All that’s left now is adding those little finishing touches that truly make your Coachella nails pop.
Step 4: Adding Finishing Touches & Accessories
Once your colors, designs, and shapes are set, the final step is all about those finishing touches that make your nails stand out and feel completely festival-ready. This is where the magic happens tiny details that elevate your nails from cute to Coachella perfect.
I usually start with a top coat. A glossy finish instantly makes colors pop and gives your nails that professional, polished look. If I’m feeling extra playful, I might use a shimmer or holographic top coat on one or two accent nails it catches the sunlight beautifully and looks amazing in festival photos.
Next, I consider tiny nail accessories. These could be:
- Rhinestones or gems placed on an accent nail
- Glitter tips or a subtle glitter fade
- Small hand painted symbols like stars, moons, or mini flowers
I like to keep it balanced one or two nails with extra details is enough. Too much can look messy, and part of Coachella nails is that easy, I just woke up like this and look amazing vibe.
Another thing I love to do is mix textures. For example, a matte base with a glossy accent nail, or a chrome nail paired with soft pastels. It adds depth and dimension, making your nails feel unique and eye catching without being over the top.
Finally, I always check the durability. Festivals are fun, but they’re also long, busy, and involve a lot of hands on activities dancing, food, selfies, you name it. So I make sure my nails are protected with a strong gel or long-lasting top coat. That way, they stay perfect all weekend.
By the end of Step 4, your nails are no longer just painted they’re a part of your Coachella outfit, your vibe, and your personality. Each detail, from shimmer to tiny rhinestones, works together to create nails that are fun, bold, and totally ready for festival photos.
Step 5: Bonus Tips for Festival Ready Nails
By this step, your nails already look amazing, but there are a few extra things I always do to make sure they survive the festival chaos and still look cute in every photo.
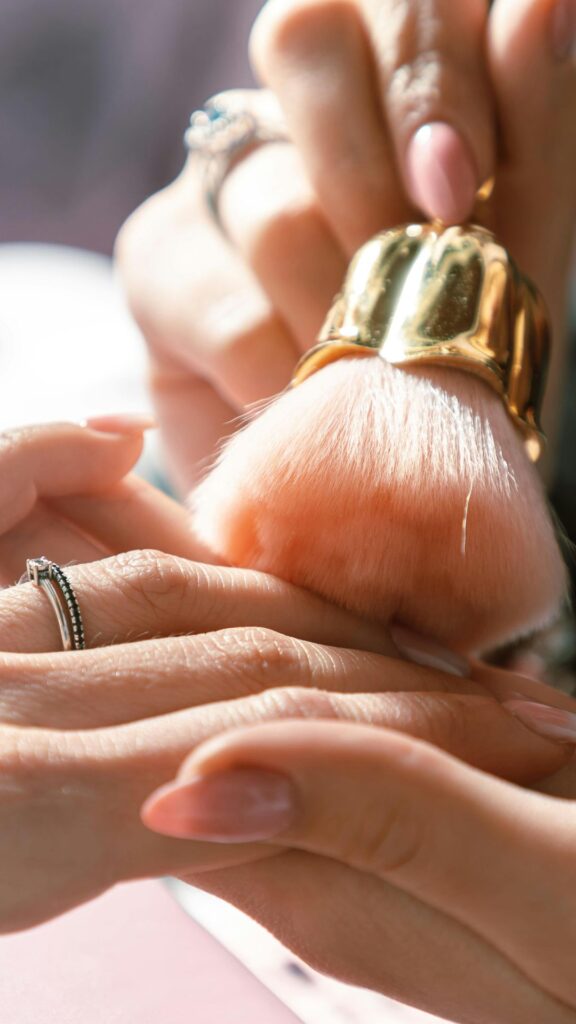
1. Hydrate Your Cuticles
Dry cuticles can make even the prettiest nails look messy. I always use a cuticle oil or a light hand cream before the festival starts. It keeps my nails healthy, shiny, and ready for all those hand selfies.
2. Pack a Mini Nail Kit
Honestly, accidents happen. I bring a small kit with a mini nail file, a tiny bottle of top coat, and a few glitter or rhinestone backups. That way, if a nail chips or a gem falls off, I can fix it quickly without stressing.
3. Think About Outfit Coordination
Sometimes I plan a subtle color tie-in with my outfits or accessories. For example, if my festival outfit has a hint of gold, I might add a gold glitter accent nail. It’s such a small detail, but it really makes the whole look cohesive.
4. Protect Your Nails Between Shows
Festivals are long days! I try not to do anything too rough with my hands like opening cans or scratching tickets so my nails don’t chip. If I know I’ll be active, I stick with gel or reinforced polish that lasts.
By following these bonus tips, your nails won’t just look amazing they’ll survive the festival weekend, complement your outfits, and make sure you’re photo ready at all times.
Conclusion on Coachella Nail Trends
And that’s it! Following these steps from choosing your vibe, picking colors and designs, deciding on shapes, adding finishing touches, to the little bonus tips will have your nails looking festival ready, fun, and totally you. Coachella nails are all about expressing your personality and feeling confident while enjoying every moment of the festival.
Remember, there’s no perfect nail here. Some years you’ll go bold and neon, other years soft and pastel. What matters most is that your nails make you feel happy, stylish, and ready for all the photos, selfies, and memories you’ll capture.
So go ahead, play with colors, experiment with designs, and don’t be afraid to add a little sparkle. Your Coachella nail trends are your canvas let them show off your personality and your festival spirit. And trust me, when you finally see them in the sunlight with your outfit and your friends, you’ll know all the effort was worth it.
Check out my post on